
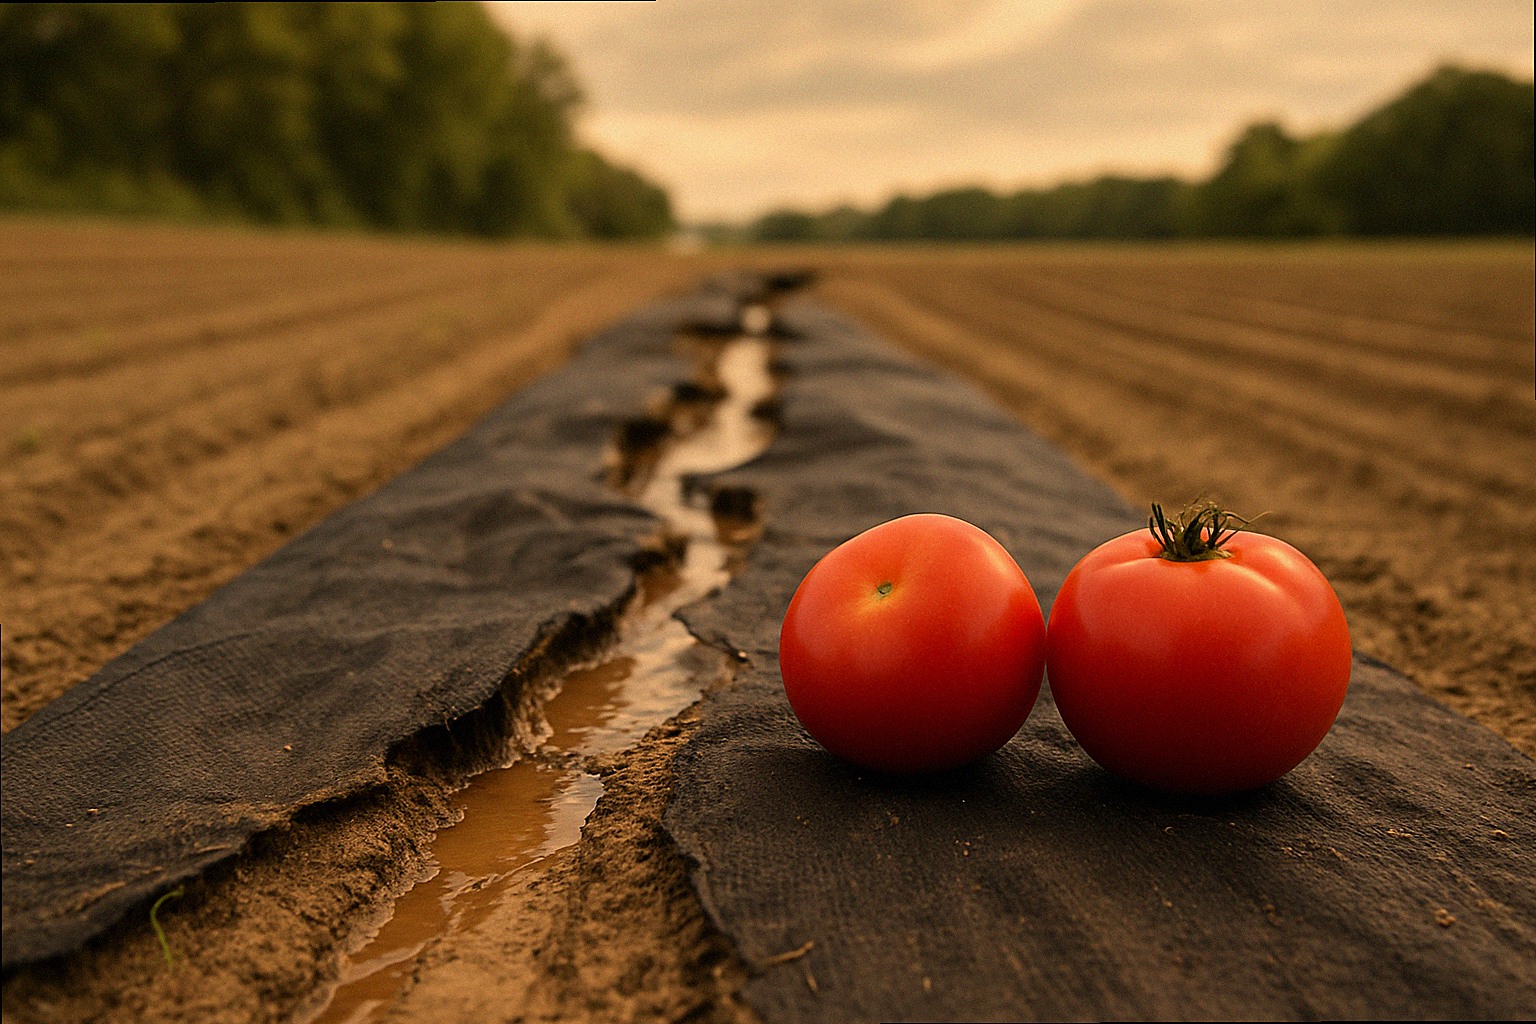
There it is. You pull back the mulch to plant a new coneflower, and there it is: a gray, crinkly sheet of woven plastic buried three inches down. The previous owners swore by it. A neighbor called it “the smart way to garden.” And now it has been sitting under your soil for what looks like a decade, strangling every earthworm and mycorrhizal network that tries to pass through.
I’ve heard from others about the frustrations of dealing with previous homeowners’ landscaping decisions, like when they discover thick plastic and weed fabric buried beneath the soil, something that requires significant effort to remove. This realization hits many homeowners hard each spring when they attempt to turn conventional gardens into ecologically beneficial spaces.
This guide is the one I wish I’d had when I found two overlapping layers of the stuff running under what I’d planned to be my pollinator border. It won’t make the job easy. But it will keep you from making the removal mistakes that set a native garden back by two full seasons.
FREE: Wildlife Garden Starter Guide
Get our 12-page PDF with the 25 best plants for pollinators, simple habitat tips, and a printable checklist — all 100% free.
No spam. Read our Privacy Policy. 
The buried plastic time bomb every previous homeowner leaves behind
Landscape fabric. Also sold as weed barrier cloth, weed control fabric, or landscape cloth. Was aggressively marketed to homeowners throughout the 1980s and 1990s as a permanent solution to weeds. The pitch made intuitive sense: lay a physical barrier, cover it with mulch, and the light deprivation kills everything underneath.
What the marketing left out was the timeline. In the first year, woven landscape fabric does suppress annual weeds reasonably well. By year two, organic mulch on top starts breaking down into a thin layer of decomposed material. Essentially soil. Weed seeds that blow in land on that organic layer, not on the fabric. They germinate just fine. Their roots punch down through the mesh and become deeply anchored in the fabric itself. Now you have weeds that are harder to pull than before you installed the barrier.
By year five, the fabric has typically done the following:
- Compressed and compacted the soil beneath it by blocking the freeze-thaw cycles that naturally loosen earth over winter
- Killed off or driven away the earthworms that are responsible for aerating your soil
- Blocked water infiltration as the mesh holes clog with fine particles
- Prevented organic matter from reaching the soil microbiome below
- Caused established shrubs and perennials to root shallowly, right along the top of the fabric, making them more vulnerable to drought and frost
Illinois Extension summarizes this bluntly in their landscape fabric guidance: the fabric reduces the air reaching the soil, prevents organic matter from entering the soil, and causes soil life like earthworms and microbes to either leave or die. The Pollinator Partnership adds that once the micro-openings clog, water and oxygen struggle to reach the soil below. Meaning even after a deep soaking rain, the soil under old fabric can be bone dry.
If you have inherited a bed with landscape fabric that’s been in place for more than three years, you are not gardening in soil anymore. You are gardening in a slow-motion death environment for plant roots.
Why pulling it out all at once destroys the roots you have spent years growing
The removal instinct is completely understandable. You find the fabric, you grab an edge, you pull. Sometimes it comes up in sheets. More often it tears into strips and comes up with entire root systems attached. Including the roots of plants you want to keep.
Here is what is actually happening structurally. When landscape fabric has been in place for several years, the roots of any established perennials, shrubs, or bulbs growing in that bed have done what roots always do under pressure: they follow the path of least resistance. Instead of pushing deep into the compacted soil below the fabric, they spread laterally along the top of the barrier, threading themselves through every hole in the mesh. The fabric and the plant roots become a single interlocked layer.
Yanking that fabric up doesn’t just remove a sheet of plastic. It tears out the fibrous feeder roots. The fine, hair-thin structures that do roughly 90% of a plant’s actual water and nutrient uptake. Lose those and you’ve stressed the plant back to zero. A native coneflower can recover from this. An established native shrub that took three years to reach its current size probably cannot, at least not without a brutal setback that effectively restarts your timeline.
The right removal strategy is about surgical patience, not brute force. And it varies by what is already growing in the bed versus what is bare ground.
Step one: Map the bed before you touch anything
Before the first cut, spend twenty minutes documenting exactly what is in the bed and where. Take photos from multiple angles. Use a simple hand trowel to probe the soil in four or five spots and note how deep the fabric sits and how many root systems are threading through it in each zone.
Divide your bed mentally into three zones:
- Empty zones. Bare soil or area with nothing worth keeping (including invasive weeds that have rooted through the fabric). These can be cleared aggressively.
- Transition zones. Areas around established plants where roots are likely tangled in the fabric within a 12-inch radius of the crown. These require careful hand-cutting.
- Root-dense zones. Directly under or within 6 inches of established native shrubs, perennials you want to keep, or bulb clusters. Leave these for last and plan to leave some fabric fragments behind rather than risk tearing roots.
This mapping exercise also reveals what tools you will need, because the answer is different for each zone.
The right tools. And the ones that snap every fine root in your bed
The worst tool for this job is the one most people reach for first: a standard garden fork driven straight down and levered up. This approach lifts everything at once. Fabric, soil, and root systems. And tears indiscriminately.
Here is what actually works for each zone:
For empty and low-root zones: A flat spade or garden knife to slice the fabric into manageable 12- to 18-inch strips. Work from the edge of the bed inward. Once sliced, grab one end of a strip and peel it back slowly at a shallow angle. More parallel to the soil surface than perpendicular. This shearing motion breaks the fabric loose from weed roots rather than ripping up the soil. A pair of heavy-duty leather gloves is not optional; woven landscape fabric can slice skin on its cut edges.
For transition zones: A narrow soil knife or hori-hori, used to carefully cut the fabric away from established plant crowns. Work in a circle around the plant, making small cuts about 2 inches from the stem and lifting the fabric in small pieces rather than large sheets. If a fragment stays stubbornly rooted under a plant, leave it. A 4-inch scrap of landscape fabric is not going to ruin a native bed. A torn root crown will.
For root-dense zones directly under shrubs: In many cases, the safest answer is a hybrid approach. Remove as much loose fabric as you can from the perimeter, then use a sharp blade to score and perforate the remaining fabric under the plant itself, opening up large holes without lifting it. Over 12 to 18 months, earthworm activity, root pressure, and normal freeze-thaw cycles will break down the remaining fragments.
For big-box and online options: a good hori-hori runs $25 to $50 at Home Depot or on Amazon (search “Barebones hori-hori” or “Nisaku hori-hori”). If you want to support a local shop, any small garden center that sells Japanese gardening tools will have something similar. The investment is worth it. This tool earns its keep every single year in a native garden.
The timing that makes removal three times easier
Wet soil removes landscape fabric dramatically more cleanly than dry soil. The fabric grips dry, compacted earth. In moist soil, it slides. If you have flexibility in your schedule, plan your removal for 24 to 48 hours after a good rain. If your area is in a dry stretch, water the bed deeply the day before and let it absorb overnight.
In terms of season, early spring and early fall are the best removal windows. Here is why:
- Early spring (before new growth emerges): The soil is loose from winter freeze-thaw, plant crowns are dormant so accidental root damage is less damaging, and you have weeks of mild temperatures ahead for the bare soil to be colonized by the native seeds or transplants you put in.
- Early fall (6 to 8 weeks before first frost): Roots are naturally pulling energy back down into the ground. Native perennials can establish in fall soil and overwinter in place, giving you a full season’s head start in spring.
- Summer removal: Not impossible, but the worst window. Exposed soil in summer heat dries fast, and any roots you damage during removal will struggle in the heat. If you absolutely must remove in summer, shade the bare areas immediately with cardboard and add 3 inches of wood chip mulch the same day.
In my yard I removed a 12-by-6-foot section of landscape fabric in late March, in soil that had just thawed. The fabric practically peeled up in long strips, and the few roots that were threaded through the mesh broke away cleanly rather than tearing the whole structure up. The same bed section would have been twice the work in July.
What to do with the bare soil immediately after. The 48-hour window
Bare soil left uncovered for more than a day or two becomes a weed-seed landing strip. Every seed in your local weed bank (and there are tens of thousands per square foot in most suburban soils) is waiting for the combination of light, air contact, and moisture that exposed soil provides. Do not finish a landscape fabric removal session and then walk away for the weekend.
You have three immediate options, and the right one depends on what you plan to plant:
If you are planting immediately: Amend the soil before you plant anything. Landscape fabric kills the microbial community and compacts the soil over time, so what is underneath it is not great growing medium. Top-dress with 2 to 3 inches of finished compost, work it into the top 6 inches, and then plant. Your local independent nursery will have bulk compost by the cubic yard, which is far more economical than bags for any bed larger than about 15 square feet. For smaller patches, a $6 to $8 bag of compost from Home Depot or Lowe’s works fine.
If you are not planting for a few weeks: Sheet-mulch with plain corrugated cardboard (remove tape and staples) laid directly on the soil and overlapped by 6 inches at every seam, then top with 3 to 4 inches of wood chip mulch. The cardboard smothers any weeds trying to emerge, breaks down into organic matter within 4 to 6 months, and does not harm the soil underneath. This is what USDA cooperative extensions call “sheet mulching” and it is free if you collect boxes from appliance stores or moving companies.
If you are doing a staged removal over multiple seasons: Use the cardboard method on completed sections while you work on the next zone. This lets you tackle a 500-square-foot bed in manageable weekend sessions without the whole thing becoming a bare-soil weed disaster by June.
Keeping the yard presentable during a multi-season removal (the HOA problem)
Here is the objection I hear most often from native plant gardeners tackling inherited landscape fabric: “My neighbors already think my yard is a mess. If I tear the whole bed apart for two weekends, it’s going to look like a disaster site.”
That anxiety is real and it is worth planning around. A few strategies that keep the yard looking intentional rather than abandoned during a staged removal:
Define clear edges first. Before you pull a single piece of fabric, spend an afternoon re-edging the border of the bed with a flat spade or edging tool. A clean, defined edge makes even a work-in-progress bed look intentional from the street. The interior can be in transition; the perimeter reads as controlled.
Stage removal in rectangular sections. Work in a 3-by-6-foot section at a time. Remove the fabric from that zone, amend, plant or mulch, then move to the next section next weekend. The bed always has both a “finished” zone and a “working” zone, and passersby see the finished zones more than the working ones.
Use a temporary sign if your HOA is watchful. A small stake sign that reads “Native Garden Conversion in Progress, Restoring Local Pollinators” does double duty: it explains the work-in-progress look and signals environmental intent. This is the kind of soft framing that tends to defuse HOA conversations before they start. Some municipalities have formal native plant exemptions in their weed ordinances; the National Wildlife Federation’s Certified Wildlife Habitat designation is another paper shield.
Plant fast-establishing natives in completed sections immediately. Nothing signals “intentional” faster than plants growing in a clean bed. Native grasses like little bluestem (Schizachyrium scoparium) establish quickly from plugs in spring and create a tidy, upright structure that most neighbors read as “landscaping” rather than “mess.” Local native plant nurseries often sell plugs at 2 to 3 dollars each; you can also find bare-root native grasses at conservation district spring sales for even less.
The natives that repair degraded soil fastest after fabric removal
Soil that has spent years under landscape fabric is depleted. Low in organic matter, low in microbial activity, and often compacted. Not every native plant tolerates this starting point equally.
The ones that perform best in post-fabric soil:
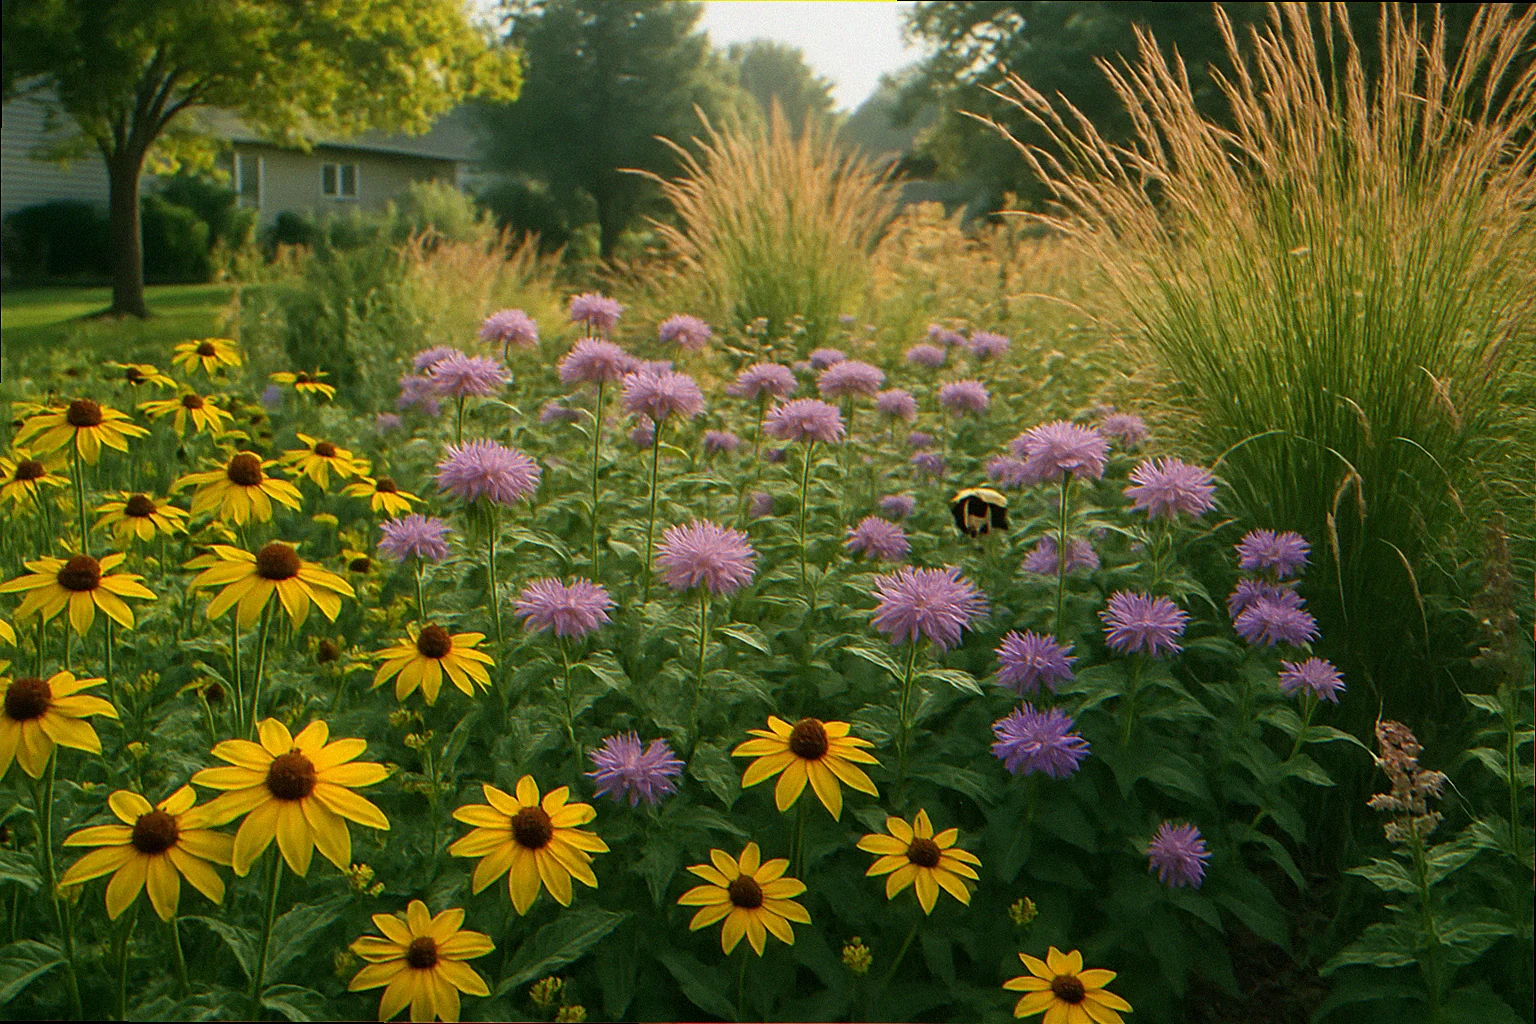
- Wild bergamot (Monarda fistulosa): Extremely tolerant of poor soil, spreads by rhizomes to fill gaps, supports 80+ bee species documented by the Xerces Society. Hardy in zones 3–9. Available at most native plant nurseries.
- Black-eyed Susan (Rudbeckia hirta): A biennial/short-lived perennial that self-sows readily. Good at colonizing disturbed soil while longer-lived perennials establish behind it. Often found as $3 to $5 transplants at big-box stores in spring. Check the tag carefully for straight species versus cultivar.
- Prairie dropseed (Sporobolus heterolepis): Native grass, tolerates compacted soil, fine-textured and elegant. Slow to establish but essentially permanent once rooted. Conservation districts sometimes sell these at spring seedling sales for under $5.
- Purple coneflower (Echinacea purpurea): The workhorse of pollinator gardens, tolerates clay and poor soil, loved by goldfinches in fall. Available everywhere from Lowe’s to local nurseries. Look for the species form, not the double-flowered “Magnus” or similar cultivars, which have reduced pollen access for bees.
- Goldenrod (Solidago rugosa or S. speciosa): Specifically these less-aggressive species (not Canada goldenrod, which can take over). Outstanding late-season nectar source. Extremely tolerant of poor soil. Often divided freely in online plant swaps and local gardening groups.
For the first season after fabric removal, plant densely. Bare post-fabric soil needs competition against weeds, and native plants provide the best competition once established. A density of one plant per square foot for ground-covers and small perennials is not excessive. It looks lush by midsummer and outcompetes opportunistic weeds by year two.
What your soil looks and feels like 18 months after the fabric comes out
This is the part that makes the work worth doing. In the first spring after removing landscape fabric and adding compost, the soil is visibly looser. You can push a finger in 3 inches without much resistance. Compared to the concrete-like compaction that was under the old fabric. Earthworms recolonize surprisingly fast, often within the first 8 to 12 weeks if you have established populations anywhere nearby. Penn State Extension documents this recovery timeline in their landscape fabric resources: the soil biological community can largely restore itself within one growing season once the barrier is removed and organic matter is available.
By the second spring, a well-planted post-fabric bed should have:
- A visible worm population. You’ll find them easily when transplanting
- Noticeably darker, looser topsoil from decomposing organic matter
- Native plants that are establishing deeper root systems than in the first year. The difference shows in how drought-tolerant they suddenly become
- Far fewer weed pressure issues, because dense native plantings outcompete the weed bank over time
The payoff for removing 40 square feet of landscape fabric in my yard was visible within a single season. The black-eyed Susans I planted in that zone in May were blooming by late July. By the following year, goldenrod was filling the back margin, a bumble bee was nesting in the soil itself (bumble bees nest underground and they will not set up in compacted fabric-covered earth), and the bed needed essentially no watering after the first eight weeks of establishment. That is the long-term bargain of removing the fabric: more upfront labor, much less maintenance forever after.
Frequently asked questions about landscape fabric removal
Can I just plant into the existing fabric and cut holes?
You can, but it’s a temporary fix that extends the problem rather than solving it. The roots of plants grown through holes in landscape fabric eventually run into the fabric and deflect sideways instead of growing deep. After 2 to 3 years, those plants will show drought stress during dry spells because they cannot access deep soil moisture. The fabric itself continues to degrade the soil biology around the plant. Cutting holes works as a season-by-season bridge while you stage removal in phases, but it should not be the permanent approach.
How deep does landscape fabric usually go?
Most residential installations sit 2 to 6 inches below the surface, usually right under the original mulch layer that has decomposed over it. The real outliers. The worst discoveries. Are when homeowners laid fabric, then covered it with soil and a second layer of mulch, effectively burying it 8 to 12 inches down. In that case, you are dealing more with a “find it and perforate it aggressively” situation than a full removal, since the depth makes full extraction impractical without essentially excavating the bed.
What about landscape fabric that’s already full of plant roots. Do I have to dig everything up?
No. For fabric that is heavily root-integrated, the most practical approach is strategic perforating and long-term decomposition. Use a garden fork to punch holes through the fabric every 4 to 6 inches across the entire bed. This restores water and air infiltration to the soil below. Add a 3-inch compost topdressing. The combination of improved soil conditions, plant root pressure, and earthworm activity will physically break down and shred the remaining fabric over 2 to 3 growing seasons. Not as satisfying as full removal, but it works without destroying established plants.
Is there any landscape fabric that’s actually safe for native plants?
The academic consensus is essentially no. Any woven or non-woven synthetic barrier degrades soil biology over time, regardless of how premium the brand. The only weed barrier that actually benefits native plant soil is cardboard (plain corrugated, no glossy coating or tape), which decomposes into organic matter and actively feeds the soil food web as it breaks down. The Homegrown National Park project and multiple university extension programs now explicitly recommend cardboard sheet mulching over any synthetic barrier for native habitat conversion.
The previous owners used thick black plastic sheeting, not fabric. Is that harder to remove?
Black plastic sheeting (polyethylene film rather than woven fabric) is actually easier to remove in intact sections because it doesn’t trap roots the way woven fabric mesh does. The downside is that it is more catastrophically damaging to the soil underneath. It completely blocks water, air, and organic matter, leaving truly dead soil in its wake. After removing black plastic, plan to add 4 to 6 inches of compost rather than the usual 2 to 3, and expect to need a full season before the soil microbiology recovers enough to support strong native plant establishment.
The first spring where the fabric is finally gone
There is a moment, usually about six weeks into the first growing season after a successful fabric removal, when you are watering the new transplants and you notice the soil. It is darker than it was. A little spongy underfoot. You step back and watch a bee land on the wild bergamot you planted in the bed’s sunny corner, and then you notice what might be a bumble bee disappearing into a small soil entrance near the path edge.
That is what it is supposed to look like. Not the sealed, sterile, maintenance-theater of a mulched bed with no weeds because nothing is alive in the soil below it. But a real, functioning 20 square feet of something that actually feeds and houses the local community of insects, which in turn feeds the birds you planted all of this to attract in the first place.
Landscape fabric promised you low maintenance. It delivered low biology. Taking it out is more work. The result is incomparably better.
For more on building the native plant bed that goes in once the fabric comes out, see the guide to native plants for rain gardens. The same post-fabric bed prep applies if you want to convert a low spot into a rain-capturing habitat zone. And if you’re buying natives to fill the space on a budget, the five free or cheap sources guide will save you from paying big-box prices for plugs you can find for a fraction of the cost.
Want More Wildlife Garden Tips?
Join 5,000+ nature lovers getting our weekly tips on creating wildlife-friendly gardens.
No spam, unsubscribe anytime. Privacy Policy
Emma Harrington
Emma Harrington is a wildlife habitat researcher and content editor with a passion for backyard conservation. She has spent over a decade translating ecological science into practical tips anyone can follow — from selecting native plants to building wildlife-friendly habitats. Her work focuses on helping homeowners transform ordinary yards into thriving ecosystems for bees, butterflies, hummingbirds, and other beneficial wildlife.