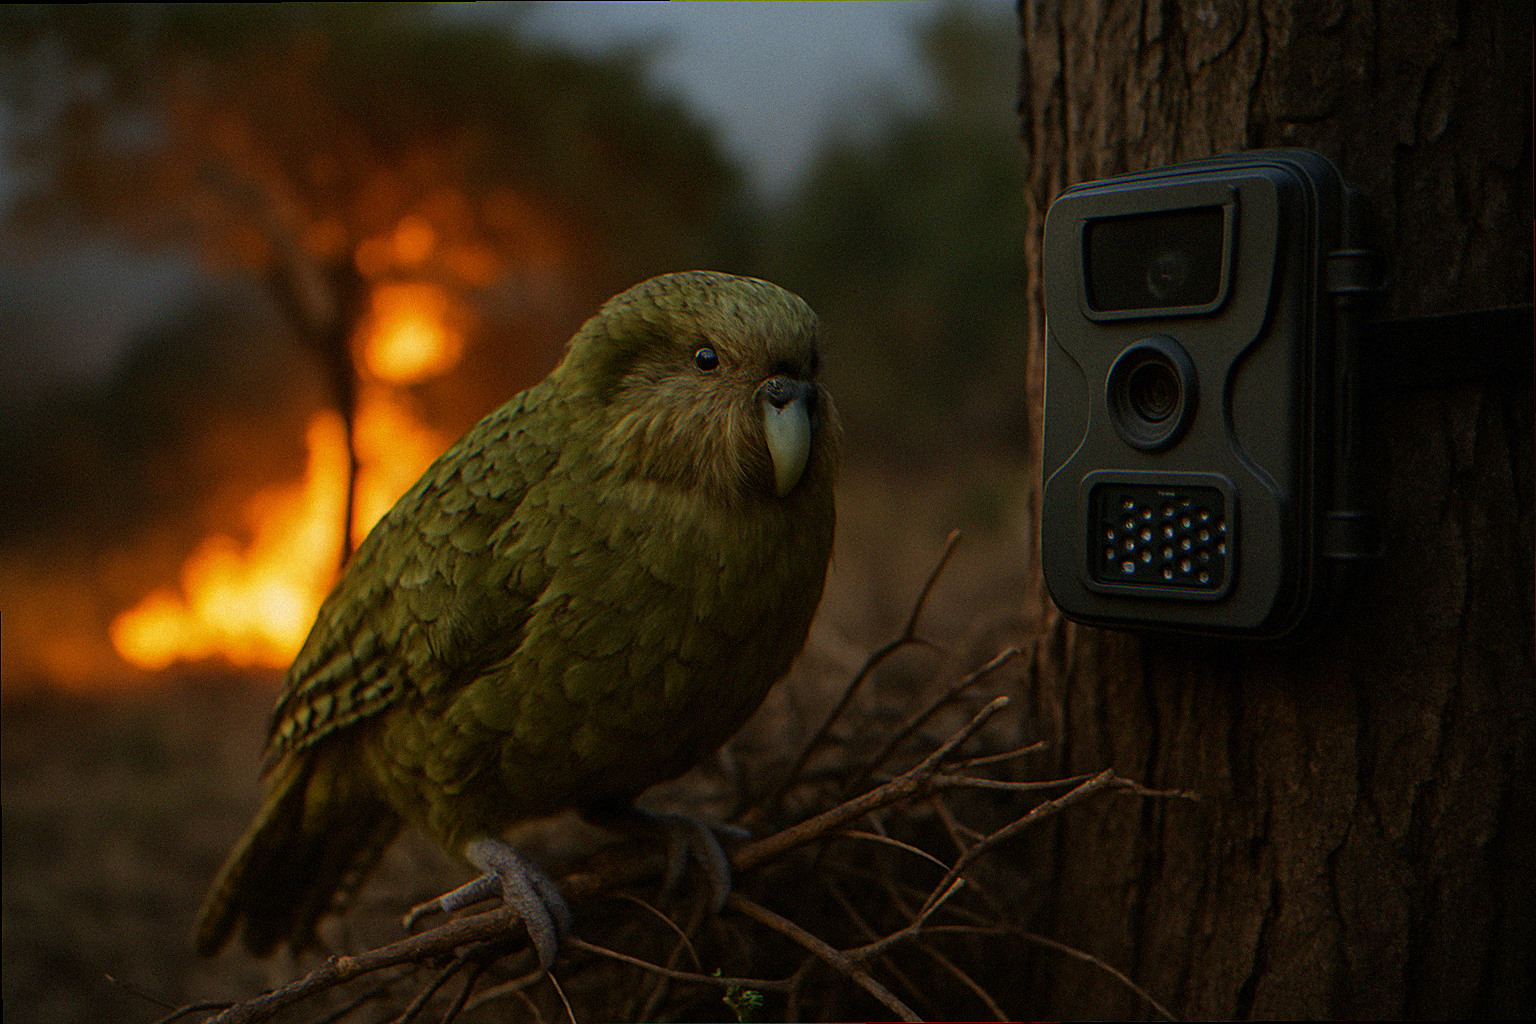
After investing time building a brush pile, planting milkweed for monarchs, and installing a birdbath with a moving dripper, I find myself outside every weekend scanning for signs of life. A feather here, a turned stone there, and the evidence of a vibrant ecosystem that I can’t always see directly. Someone I chatted with highlighted how engaging with nature in this way can feel like watching your own personal ‘Nature TV.’ That’s the reality of creating a native habitat yard—once you start, you feel like you’re missing out on moments more than you would from a beloved show.
The problem is biology doesn’t run on your schedule. The great horned owl that hunts the voles in your meadow patch arrives at 11 PM. The red fox that trotted through your hellstrip last Tuesday did it at 4:17 AM. The opossum that cleaned out every slug from under your goldenrod. You have never seen it once. A trail camera doesn’t give you those moments. It banks them and plays them back over morning coffee, and once you’ve watched a sharp-shinned hawk snatch a sparrow off your sunflower heads in 0.4 seconds, your relationship with your yard changes permanently.
This guide is about setting up a trail camera to actually work in a native garden. Not the hunting-land setups most tutorials describe, but a backyard wildlife camera designed to catch the full cycle of who is eating whom, who is nesting where, and what the ground looks like at hours you will never see with your own eyes. Read on for the camera specs that matter, the placement strategies that capture predator-prey encounters, and the three habitat features that dramatically increase how much your camera catches every single night.
FREE: Wildlife Garden Starter Guide
Get our 12-page PDF with the 25 best plants for pollinators, simple habitat tips, and a printable checklist — all 100% free.
No spam. Read our Privacy Policy.The nature documentary playing in your yard while you sit inside
In an average suburban lot with a native plant understory, research compiled by groups like the National Wildlife Federation suggests that a single mature oak tree alone can support over 500 species of caterpillars, moths, and beetles across its lifetime. Those insects draw songbirds. Songbirds draw Cooper’s hawks. Cooper’s hawks draw territorial response from neighboring raptors, which leaves niches for screech owls to fill. The food web in a healthy native garden isn’t a metaphor. It is a real, operational system where something eats something else approximately every thirty minutes, with roughly 70% of mammal activity happening after dark or in the brief windows between your breakfast and your commute.
The sanitizing of suburban nature. The expectation that your yard should look like a park and feel tranquil and tidy. Is exactly what erases this. Turf grass doesn’t support that food web. Landscape fabric physically prevents it. Outdoor lighting at night disrupts the moth activity that feeds half the food chain. And the quiet, unconscious assumption that a “nice yard” means no visible death, decay, or predation means that most homeowners never actually witness the ecology they claim to be supporting.
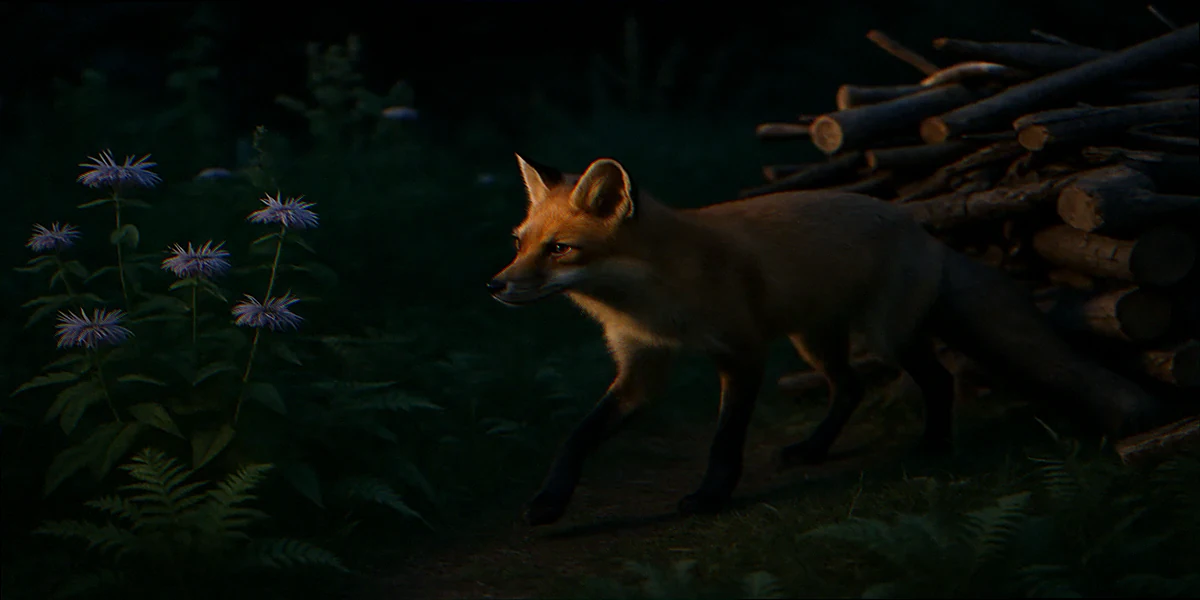
A trail camera dissolves that sanitization barrier without requiring you to sit outside in a lawn chair at 2 AM. You set it, leave it for four days, and then watch a compressed version of what actually happened. The fox kit nursing at the edge of your native planting, the barred owl standing on your brush pile for forty-five minutes scanning for movement, the doe that walks in at dusk every single night and feeds on the same clump of native sedge. You don’t observe the nature documentary. You find out you’ve been living inside it.
What a trail camera catches in a native garden versus a conventional lawn
If you point a trail camera at a turf grass lawn, you will get squirrels and the neighbor’s cat. That is mostly it. The food web is too thin. There is nothing to eat except grass, and nothing lives in grass at the density that attracts the predators that make footage interesting.
A native plant yard is structurally different. The layered canopy. Trees over shrubs over ground cover over leaf litter. Creates multiple microhabitats that different animals use at different times. The result is what wildlife biologists call “edge effect” density: a concentration of activity at the transition zones between habitat types. In a good native garden, nearly every square foot is an edge zone, which means nearly every square foot generates wildlife activity worth recording.
What does that look like on camera?
- Brush pile cameras routinely catch rabbits sheltering at dusk, followed by foxes investigating the pile thirty minutes later, followed by owls landing on the top log at midnight. You are watching a three-act play with the same stage and rotating cast.
- Water feature cameras. Pointed at a birdbath, small pond, or even a consistently damp depression. Catch activity spikes around golden hour and pre-dawn. In late spring, you will see species visiting that you never spot at feeders: wood thrushes, gray catbirds, migratory warblers stopping for a drink during overnight flights.
- Leaf litter zone cameras. Aimed at an undisturbed leaf layer under shrubs. Catch toads, salamanders, skunks, and the entire ground-feeding sparrow community working the litter for arthropods. This is also where you start to see the decomposers: the beetles, millipedes, and pill bugs that, as the Xerces Society for Invertebrate Conservation documents, are the final link in the food web, breaking everything down so the oaks can grow again.
- Snag or standing dead wood cameras. If you have a dead or dying tree on your property. Catch woodpeckers excavating during the day, flying squirrels using the cavities at night, and raccoons investigating every hollow. Snag cameras produce more raw drama per footage-hour than almost any other placement.
The pattern holds regardless of yard size. A 40-by-60-foot urban lot with native plantings and one brush pile typically generates three to five different mammal species on camera per week. A lawn of the same size generates one.
How to pick a trail camera that does not make you want to throw it into the compost bin
Most trail camera marketing targets deer hunters in rural settings, which means the features emphasized. Range, SD card capacity, cellular upload for remote stands. Don’t translate well to a backyard thirty feet from your house. Here is what actually matters for garden wildlife use:
Trigger speed: the number no one puts prominently in the specs
Trigger speed is the time between a motion detection event and the shutter firing. Most budget cameras advertise “0.5-second trigger speed” on the box but actually deliver 0.8 to 1.2 seconds in practice. For a deer walking across a field, that’s fine. For a sharp-shinned hawk that crosses your bird feeding zone in 0.3 seconds, that’s a blank frame every single time.
Look for cameras with independently verified trigger speeds under 0.5 seconds. Brands that consistently deliver this at sub-$100 price points include Browning (Strike Force Extreme line), Bushnell (Core S), and Stealth Cam (Fusion X). At the $150 and above range, the Reconyx HyperFire 2 is the professional standard used by biologists. Trigger speed under 0.2 seconds, negligible false triggers, and a no-flash “blackout” infrared mode that produces zero light visible to wildlife.
Flash type: the difference between watching and disturbing
White flash cameras produce a visible white burst that illuminates the frame clearly for color night images but alerts every animal in the area. Infrared (IR) cameras produce a dull red glow invisible to humans at a distance but detectable by some wildlife. “No-glow” black infrared cameras produce zero visible light and are completely invisible to both humans and animals. Footage is black-and-white at night but the behavioral data is completely uncontaminated by camera disturbance.
For native garden use, no-glow black infrared is the correct choice. You want to observe natural behavior, not trigger startle responses or cause animals to learn to avoid the camera zone.
Resolution and video mode: useful floors
For still photos, 12 megapixels is the practical floor below which you lose the ability to identify smaller species reliably. The difference between “a sparrow” and “a swamp sparrow” can depend on feather detail you won’t get at 8MP. Video at 1080p is sufficient and produces dramatically smaller files than 4K for the same observation value. Burst mode (3 or 5 images per trigger) helps catch action sequences and is worth enabling for predator zones.
Battery life: the boring spec that ends most backyard setups
A camera that runs 8 AA batteries and triggers every time a leaf blows will drain in two weeks in a busy spring garden. Look for cameras with temperature-stable lithium battery support (not just alkaline) and a low-power standby mode. Budget for 12 to 16 AA lithium batteries per camera per month during spring and fall migration peaks, when activity is highest. Solar-assisted cameras exist but typically require at least 4 hours of direct afternoon sun. In shaded woodland-edge native gardens, they often underperform.
Where to point the camera to catch predators, prey, and the moments between them
Placement is where most backyard trail camera setups fail. The instinct is to point the camera at the feeder or the birdbath. The known activity hub. And that produces high-volume, low-drama footage: finches at the nyjer sock, squirrels on the platform feeder. This is fine at first but exhausts its novelty quickly.
The footage that changes your relationship with your yard comes from filming the edges and corridors, not the destinations. Here is the placement logic that consistently produces compelling wildlife documentation:
The approach lane, not the destination
Instead of pointing the camera at the birdbath, point it at the shrub edge six to eight feet from the birdbath. The approach lane where birds check for predators before committing to the water. You will catch not just the birds approaching but the hawks scanning the same lane from overhead, and the cats or foxes that learn to wait at the approach point because birds are consistently distracted there.
The base of the brush pile, not the top
The interesting brush pile activity happens at ground level, where small mammals enter and exit through the tunnels in the lower layer. Camera height: six to ten inches off the ground, aimed at the primary entrance gap. Pan the angle slightly downhill if you have any slope. Animals travel downhill more often than up when moving casually.
Along fence lines and habitat edges
Mammals follow linear features: fence lines, garden bed edges, the seam between lawn and native planting. This is also why building a wildlife corridor across your yard dramatically increases camera capture rates. Pointing a camera along a fence line. Not across it, but along it. Means any animal using that corridor walks directly toward the camera rather than passing across the frame in a fraction of a second. This is the single most reliable adjustment for catching carnivores. Foxes, coyotes, raccoons, and opossums all prefer to follow the path of least resistance, and a fence line is exactly that.
Height calibration for target species
For ground mammals: camera at 10 to 16 inches, angled 5 to 10 degrees downward. For medium mammals (raccoon, opossum, fox): camera at 20 to 28 inches, level aim. For large mammals (deer, coyote, turkey): camera at 28 to 36 inches, level aim. For raptors on low perches: camera at 4 to 5 feet, aimed at a known perch stub or dead snag branch.
If you want to film pollinators and insects on the brush pile or snag in daylight, many modern trail cameras support a time-lapse mode that captures a still every 30 or 60 seconds regardless of motion trigger. Useful for slow-moving subjects the motion sensor doesn’t reliably catch.
The three habitat features that make your camera footage dramatically better overnight
A trail camera is a measurement device. What you are measuring is wildlife use density. How often, and how many species, use a given zone. You can improve your footage quality by improving the habitat that concentrates wildlife in camera range, rather than by upgrading the camera itself. Three features reliably boost wildlife use density in native gardens:
Feature 1: A log or rock pile on bare soil in a shaded spot
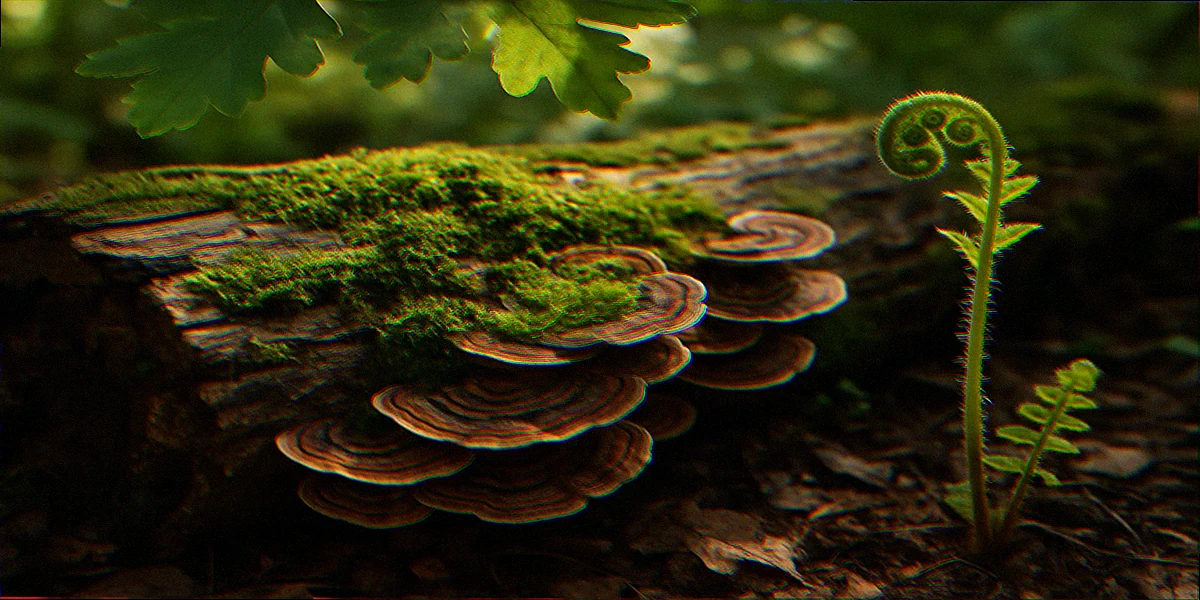
This is the decomposer anchor for your yard’s food web. A small stack of hardwood logs. Oak, cherry, or hickory are ideal, as softwood decays too quickly. Placed on bare soil in part shade creates conditions for beetles, salamanders, toads, and the ground-feeding bird community within one season. The key is bare soil contact, not a log placed on landscape fabric or wood chips. The fungi that drive wood decomposition need direct soil contact to establish.
One log pile generates more ground-level camera footage variety than almost any other single intervention because it anchors three trophic levels: the invertebrate community eating the wood, the amphibians eating the invertebrates, and the mammals and birds eating the amphibians.
Feature 2: A small, moving water source within six feet of cover
Moving water. A solar dripper into a shallow dish, a small recirculating pump in a container pond. Is audible to birds and mammals at distances where standing water is not. The sound attracts wildlife across the yard from cover areas, creating a predictable approach pattern that dramatically improves camera placement reliability. Cover within six feet (a native shrub, a brush pile, a dense meadow planting) gives small birds and mammals the security they need to actually use the water rather than approach and leave.
The combination of sound plus nearby cover is why shallow moving water consistently outperforms elaborate pond designs for camera capture frequency. You want animals visiting on a predictable schedule, not a single impressive feature that animals approach cautiously and infrequently.
Feature 3: A snag. A dead or dying tree left standing
A snag is the single highest-wildlife-value habitat feature in a suburban yard, and also the hardest to have because every homeowner instinct says a dead tree is a hazard to be removed. For yards where full snag retention isn’t feasible, a snag stub. A tree cut down to a stump of six to ten feet. Retains most of the habitat value. Cavity-nesting birds (chickadees, titmice, downy woodpeckers, screech owls, flickers) all require excavated cavities in dead wood to breed. According to Audubon, more than 80 species of North American birds depend on dead or dying trees for some part of their life cycle. A snag camera during the May nesting window produces footage you cannot get any other way.
For yards with no viable snag, a dead wood stack. Hardwood logs stacked loosely off the ground, three to four feet high. Creates similar fungal and invertebrate habitat for ground-level species, just without the cavity-nesting function.
Together, these three features. Decomposer anchor, moving water with cover, snag. Create a yard with activity in three vertical layers (ground, water’s edge, aerial) on a 24-hour cycle. Your camera doesn’t have to work hard to catch something interesting. The interesting things walk directly into frame.
“I don’t actually want to watch something die”. Why witnessing the full cycle is different from what you’re imagining
This objection comes up constantly in native gardening communities, and it deserves a direct answer rather than a dismissal.
The sanitized version of “supporting wildlife”. Putting up a feeder, planting milkweed, adding a birdbath. Is real and valuable. But it only shows you the pleasant half of the ecosystem: the foraging, the breeding, the arrival. The camera shows you the other half: the hunting success, the territorial displacement, the animal that doesn’t make it through the winter. And for many gardeners, the first time they watch a Cooper’s hawk take a sparrow on footage, the reaction is not distress but something more complex. A recognition.
An experienced restoration ecologist I follow expressed the sentiment beautifully: “I love the birds. It gives me a sense of completion that your removals still benefit future life.” This captures the essence of how every element in the ecosystem, from the hawk to the oak, plays a role in the backyard.
The difficulty is that our brains are wired to respond to predation with the same stress response as personal threat. The first time you watch something die on your camera footage, you will feel it. That feeling softens with time, not because you care less but because the context expands. By the third month of footage, you will root for the hawk as readily as you root for the sparrow, because you understand that the hawk has a nest to provision too.
For those who genuinely don’t want to see prey captures, the log pile and water source cameras described above produce almost entirely non-predation footage: amphibians, invertebrates, ground birds foraging, mammals drinking. The snag camera and the approach lane camera are where the predator-prey footage concentrates. You can configure your setup to get the complete-ecosystem observation without positioning cameras at the active hunt zones, at least until you feel ready for that footage.
What the first four weeks of footage actually teaches you about your yard
The first week is the inventory. You will discover that some species you assumed were using your yard are not, and that other species you had no idea were present visit regularly. The raccoon family using the brush pile at 1 AM. The white-footed mice running the fence line every night without exception. The screech owl that roosts in the dead apple tree limb from November through April and hunts the same 40-foot radius every evening.
The second week is pattern recognition. You start to see schedules. The deer comes in from the same direction at roughly the same time every evening. The song sparrow roost under the native planting moves to different cover when rain is forecast. You can predict tomorrow’s weather from bird behavior in your own yard if you have enough footage to compare. The opossum runs a regular route that intersects your camera zone every three to four nights, apparently working a circuit of the neighborhood.
The third week is where you start to see relationships. The male fox that marked the brush pile perimeter in week one is now bringing a smaller fox. A kit, or possibly a mate. To forage near the log pile. The Carolina wren pair that appeared separately in weeks one and two is now moving through the frame together, always within six feet of each other. The snag has a fresh excavation that is either a chickadee or a downy woodpecker. You set a second camera to catch the entrance and resolve it.
The fourth week is when the footage starts to feel like a chronicle rather than a catalog. You have a narrative. There are recurring characters. You know the buck from the doe by the way they carry their heads. You recognize the individual wren by the slight asymmetry in its tail fan. This is the moment most trail camera users describe as the shift: from “I’m monitoring wildlife in my yard” to “I know who lives here.”
That knowledge changes how you garden. You stop removing the “messy” native sedge clump that the song sparrow roosts in. You leave the dead limb that would otherwise be the first thing an arborist would take. You don’t clean out the brush pile in March because you know from footage that the rabbit is still using it and has been there every day since November. The camera makes the invisible visible and the abstract concrete. It turns the general commitment to supporting wildlife into specific, individual animals that you have watched, learned about, and. If you’re honest. Started to feel responsible for.
That is the native garden at its best. Not a list of bird species seen. Not a count of pollinators per square foot. A complete, functioning ecosystem in which you play a specific role, documented on camera and reviewed every morning while the coffee brews.
If you haven’t yet built the brush pile that anchors this whole setup, the complete guide on this site walks you through the process: How to Build a Brush Pile for Wildlife. For research-backed guidance on snag habitat and cavity-nesting bird requirements, the USDA Forest Service Wildlife Resources provides the most thorough publicly available information.
Frequently asked questions about trail cameras for native gardens
Do I need to tell my neighbors I’m running a trail camera?
Laws vary by state, but the general principle is that cameras pointed at your own property require no notification. If any part of your camera’s field of view captures a neighbor’s property. Including across a shared fence line. It’s courteous and sometimes legally required to inform them. Position your camera to aim along your property rather than across its perimeter, and the issue rarely arises. The majority of backyard wildlife activity happens away from property lines anyway, toward the habitat anchors in the yard’s interior.
Will a trail camera disturb nesting birds?
A no-glow infrared camera positioned at least four to six feet from an active nest entrance will not cause abandonment in most species. The risk zone is the nest entrance itself. Any camera placed within two feet of an active cavity entrance creates enough disturbance to cause abandonment in cavity nesters. Point cameras at snag perches and the approach zone, not at the cavity entrance. For open-cup nests in shrubs, maintain a minimum of four feet and use time-lapse mode rather than motion trigger, which fires at a lower frequency.
How long should I leave the camera in one spot?
A minimum of two weeks per position before evaluating. Wildlife behavior near cameras takes four to seven days to normalize. Early footage often underrepresents activity because animals are responding to the new object. Move cameras when the footage shows consistent repetition with few new species or behaviors, typically after three to four weeks. Keep a log of positions and dates so you can return to high-activity zones seasonally.
What SD card should I use?
A Class 10 (or UHS-I) card rated for temperature extremes. Look for labels indicating -40°F to 185°F operating range. Standard consumer SD cards fail in summer heat or winter cold because the memory cells aren’t rated for outdoor temperature swings. Sizes between 32GB and 64GB hit the practical sweet spot: large enough for four to seven days of mixed photo and video before filling, small enough to transfer quickly when you pull the card.
My camera is triggering on empty frames constantly. What’s happening?
Four common causes: (1) direct sunlight heating moving vegetation in the camera’s field of view. Reposition to eliminate the sun angle; (2) detection zone sensitivity set too high for your ambient conditions. Reduce to medium or low; (3) spider webs forming in front of the lens at night. Wipe the lens area with dry cloth every few days; (4) the camera is positioned too close to moving water, whose surface movement creates continuous false triggers. Back the camera at least 8 feet from a water surface and angle slightly away from direct water reflection. Most false-trigger problems resolve by combining sensitivity reduction with a repositioning that eliminates the heat source triggering the PIR sensor.
The native garden you have been building is already operational in ways you have not yet seen. A trail camera doesn’t add anything to what’s happening in your yard. It simply makes it visible. And once you have watched a year’s worth of footage from a yard you built with your own hands. The fox kits in May, the warbler migration in October, the owl that spent January hunting the same log pile every single night. The idea that a conventional lawn was ever the right choice for this piece of ground becomes genuinely difficult to explain.
Set the camera. Leave it for two weeks. See who lives in your yard.
Want More Wildlife Garden Tips?
Join 5,000+ nature lovers getting our weekly tips on creating wildlife-friendly gardens.
No spam, unsubscribe anytime. Privacy Policy
Emma Harrington
Emma Harrington is a wildlife habitat researcher and content editor with a passion for backyard conservation. She has spent over a decade translating ecological science into practical tips anyone can follow — from selecting native plants to building wildlife-friendly habitats. Her work focuses on helping homeowners transform ordinary yards into thriving ecosystems for bees, butterflies, hummingbirds, and other beneficial wildlife.