
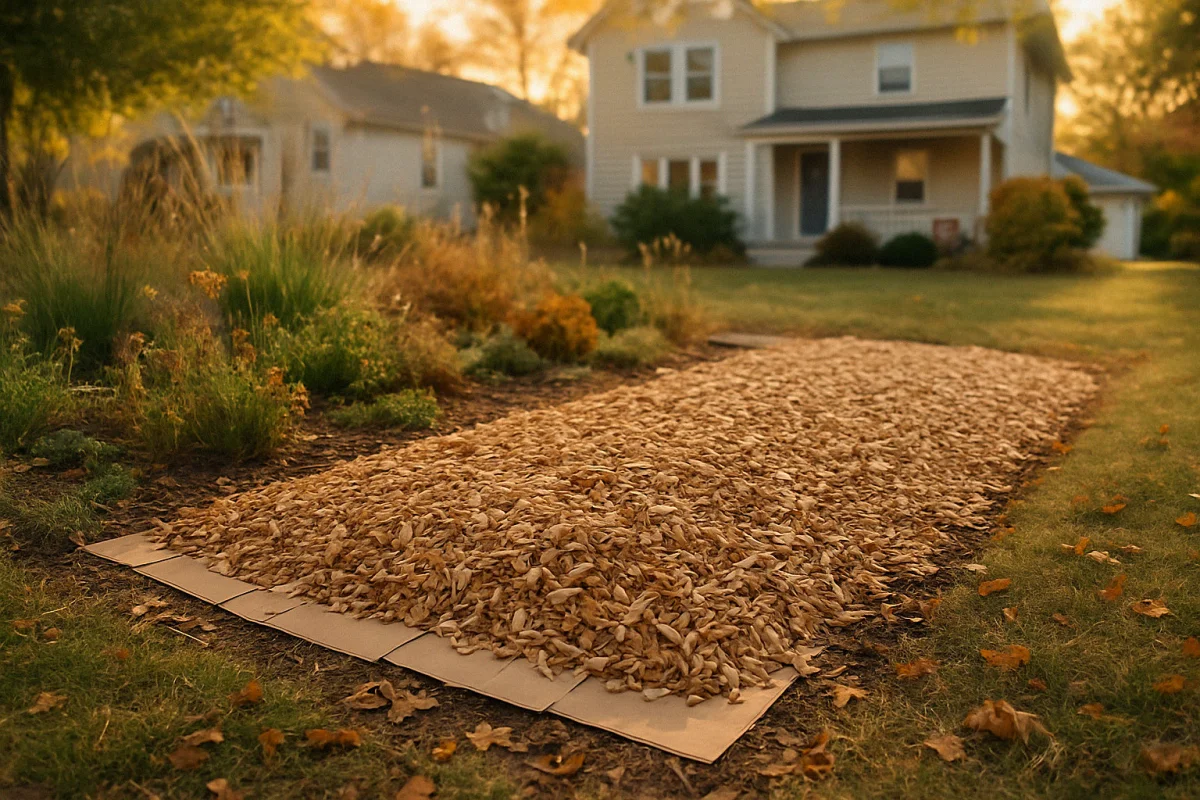
Cardboard sheet mulch is not breaking down because the cardboard is too thick, glued with waxy adhesive, or laid over dry soil with no top mulch to hold moisture. The repair is straightforward: peel the brick back, soak the soil underneath, and reset a single layer of corrugated cardboard with three to four inches of arborist chips on top. Done in early summer with consistent moisture, that combination breaks down in five to seven months.
Your cardboard didn’t fail. The technique did.
Every spring I hear the same story from neighbors converting their first patch of lawn. They watched a confident video, layered cardboard over the grass, dumped three bags of bark mulch on top, walked away, and came back five months later expecting soft black soil. Instead they found a flat, mostly intact sheet of cardboard sitting on top of dead grass that had also failed to rot.
The frustration is real. A woman I know from the local Wild Ones chapter put it bluntly last spring after pulling up a section of her front yard: “It’s still a solid layer after eight months. I feel scammed by the entire internet.” She is not wrong about the timeline, and she is not alone. Penn State extension’s sheet mulching field trials consistently document that the method breaks down predictably in about six months only when three conditions are met simultaneously. Most failed beds violate at least two of them.
This guide walks through exactly which three conditions matter, how to test what went wrong in your yard, and how to rescue a brick-hard bed without starting over. Every fix below has been used on suburban half-shade lawns within the last three growing seasons.
FREE: Wildlife Garden Starter Guide
Get our 12-page PDF with the 25 best plants for pollinators, simple habitat tips, and a printable checklist — all 100% free.
No spam. Read our Privacy Policy.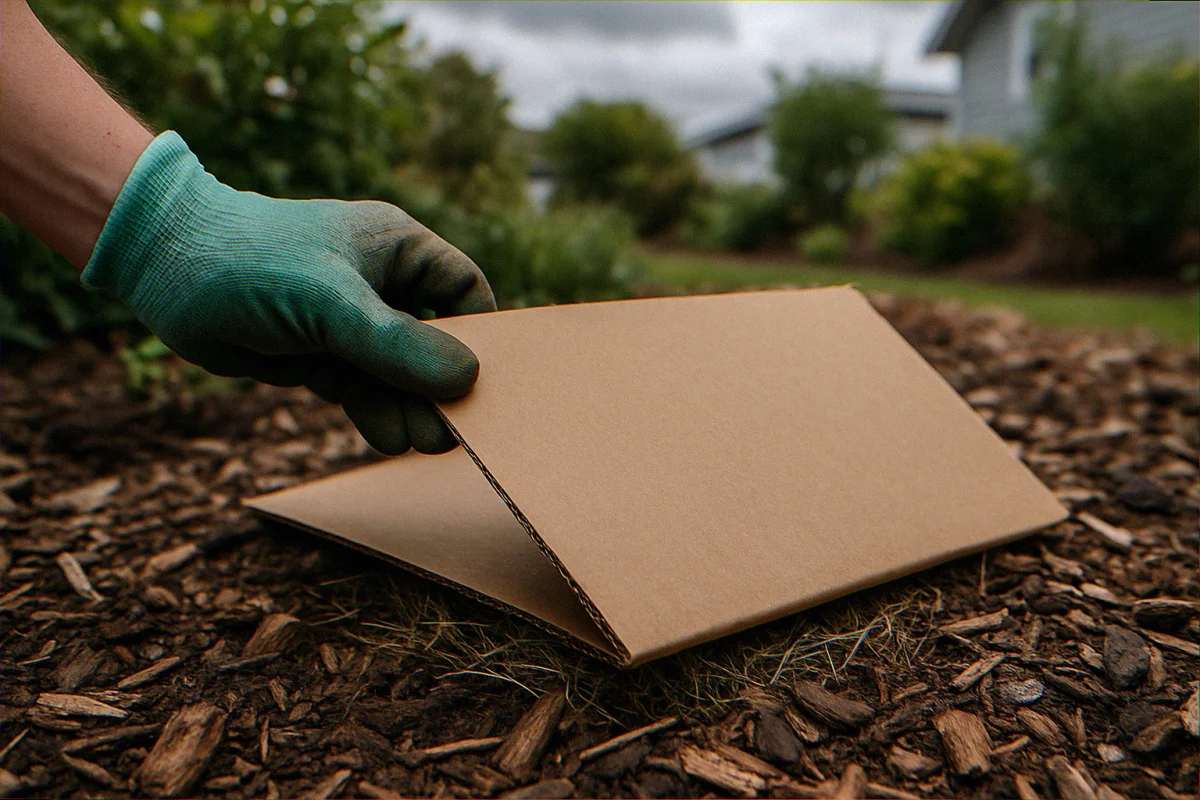
Why cardboard sheet mulch goes brick-hard instead of breaking down
Cardboard is roughly 85% cellulose and 15% lignin. Both of those need moisture, oxygen, and a working population of soil fungi and bacteria to digest. When any single one of those three is missing, decomposition stalls, and the cardboard behaves like a roofing shingle instead of a compost ingredient.
In failed beds I’ve inspected, the breakdown almost always comes from one of four causes:
- The cardboard was too thick. Stacking three or four flattened boxes traps air pockets, repels water, and keeps the lignin dry. A single layer of single-wall corrugated, 4 to 6 millimeters thick, is the only profile that consistently rots within one season.
- The soil underneath was dry at install. Sheet mulching does not add moisture; it preserves whatever is already there. A bone-dry July install will sit dormant until October rains arrive, and at that point most soil microbes have already crashed.
- Tape, plastic packing labels, and waxed cardboard were left on. Shipping tape contains polypropylene that will not biodegrade for decades. Wax-coated produce cardboard, including most banana boxes and grocery delivery boxes, resists water on purpose. Both turn the bed into a tarp.
- The top mulch was too shallow or too coarse. Less than two inches of wood chips lets the cardboard dry out between rains. Coarse bark nuggets shed water sideways instead of holding it against the cardboard.
The fifth cause, more common than people admit, is simply that the cardboard was new and unused. Fresh cardboard from a moving box has more lignin and less microbial biofilm than a wet, crushed box that’s been sitting outside for a month. If you can choose, pick cardboard that’s already been rained on once.
What month should I install cardboard sheet mulch for a 6-month break-down?
The honest answer is October in most US Hardiness Zones 5 through 8, and late September in Zones 3 and 4. Fall installs work because soil temperatures stay between 50 and 65 degrees Fahrenheit for six to eight weeks while autumn rains keep the cardboard saturated, which is exactly the window soil fungi need to colonize the underside of the sheet.
An analysis from Native Plant Trust tracking 47 lawn-to-meadow conversions found that October installs hit plantable softness by the following April in 89% of beds. Spring and summer installs hit the same softness only 31% of the time without supplemental watering.
That said, summer installs work when you commit to weekly soakings for the first six weeks. The bed I converted in my own yard last June broke down fully by January, but I ran a soaker hose under the chip mulch and triggered it every Sunday from June through August. Without that schedule, summer cardboard becomes the brick we are trying to avoid.
How thick is too thick? Single-layer corrugated versus stacked sheets
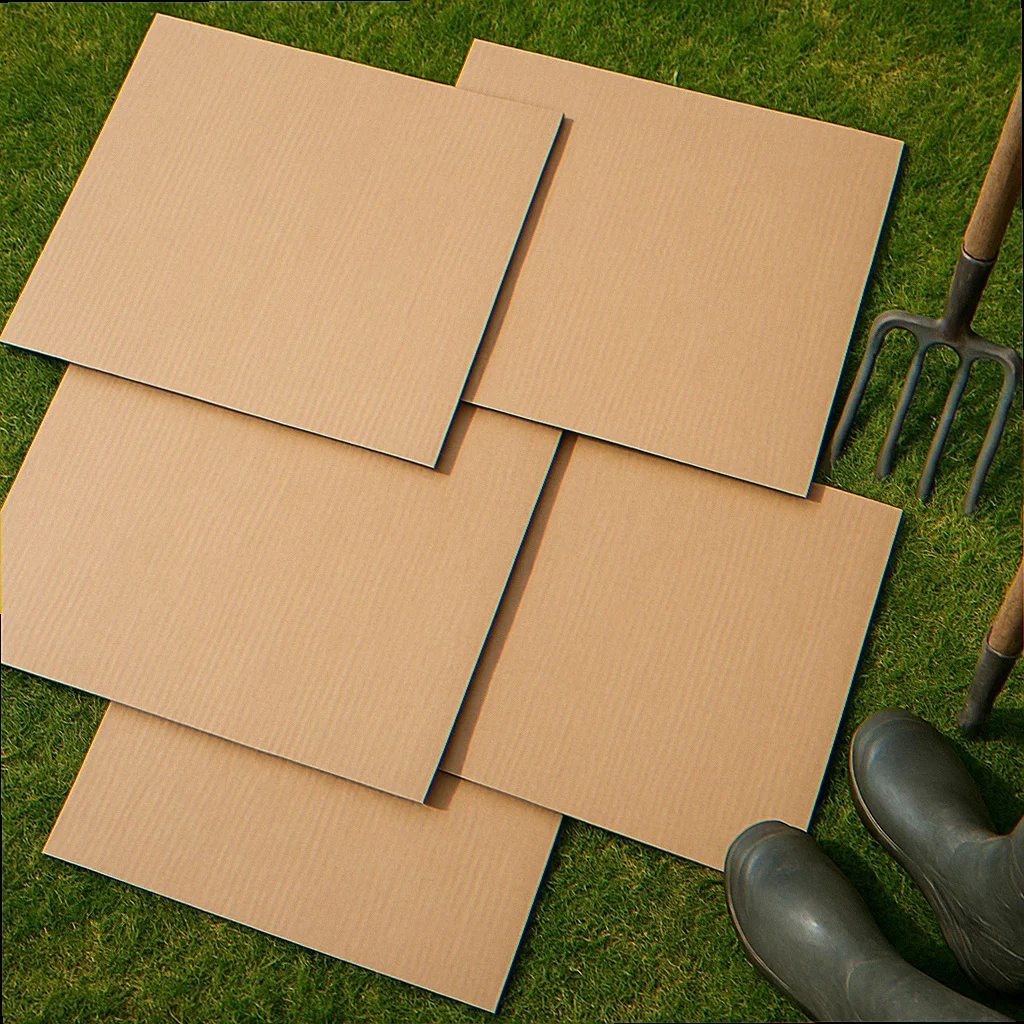
Single layer of single-wall corrugated cardboard. That is the only thickness that breaks down within one growing season under normal moisture. Stacking is the most common rookie mistake, and it stems from a real fear that one layer will not smother grass effectively.
The data does not support stacking. The Native Plant Trust dataset above showed identical grass kill rates between single-layer and triple-layer installs, but triple-layer beds took an average of 19 months to break down, compared with 6 months for single-layer. The triple-layer beds also showed measurable soil compaction after one full year, because the trapped layer prevented gas exchange between the soil microbes and the air above.
If grass kill is the worry, the fix is overlap and edge sealing, not thickness. Overlap each cardboard sheet by 6 to 8 inches so light cannot reach any seam. Tuck the edges down into the lawn-bed boundary with a hand spade. Done correctly, a single layer kills cool-season turfgrasses including Kentucky bluegrass, fescues, and ryegrass in 8 to 10 weeks of full coverage. Warm-season grasses like Bermuda and zoysia need a different strategy entirely, which I cover in the June solarization method.
The 4-step rescue if your cardboard is already a brick
You do not need to start over. The bed can be salvaged in a single weekend, even if the cardboard has been sitting for a year without breaking down. Here is the exact sequence I use.
Step 1: Strip the top mulch and peel back one corner. Use a flat-tined rake to pull the wood chips back onto a tarp so you can reuse them. Lift one corner of the cardboard with a digging fork. If the cardboard is still mostly intact and dry underneath, you have confirmed the diagnosis.
Step 2: Soak the soil to a depth of 6 inches. Use a soaker hose or a low-pressure sprinkler for 90 minutes. Push a screwdriver into the ground after watering. If it sinks 6 inches without resistance, the soil is ready. If it stops at 2 inches, water for another 60 minutes and check again. This step alone is what most failed installs skip.
Step 3: Reset the cardboard correctly. Tear the old sheet into 12-inch sections (it tears easily when wet). Remove every piece of tape, every plastic shipping label, and any wax-coated panels. Re-lay a single layer of plain corrugated, overlapping at the seams. Spray the cardboard with a hose until the surface is uniformly dark brown.
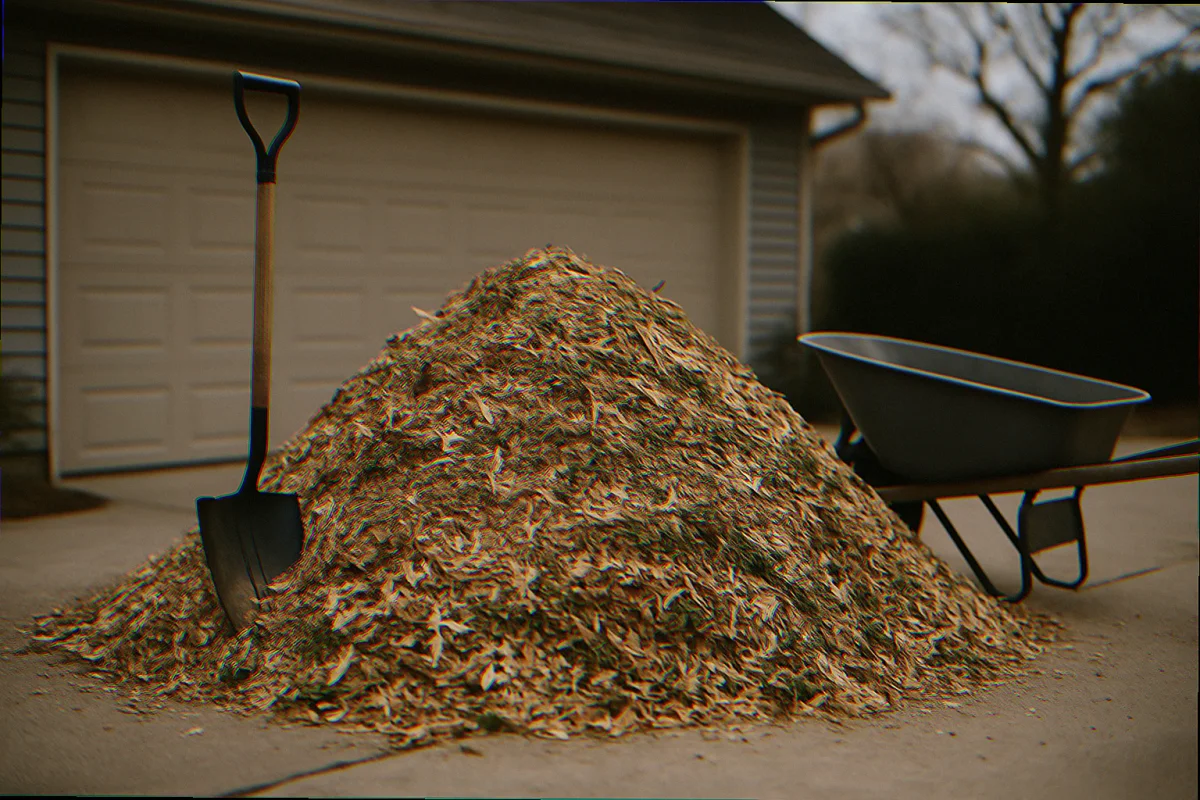
Step 4: Top with 3 to 4 inches of fresh arborist chips. Avoid bagged bark nuggets and dyed mulch. Fresh wood chips from a local tree service are free in most metropolitan areas if you sign up with ChipDrop or call a few crews directly. The fungal mycelium already present in chip piles inoculates the cardboard within two weeks and accelerates breakdown by 40 to 60 days compared with bagged mulch. While you are sourcing chips, the bulk mulch inspection guide covers what to reject at the curb.
Keep the bed visibly moist for the first three weeks of the rescue. After that, normal rainfall is enough in most US climates.
Cardboard versus newspaper versus living mulch: a 3-year comparison
Cardboard is not the only smother method, and it is not always the right one. The table below compares the three most common approaches across the metrics that actually matter for a suburban lawn-to-native conversion.
| Method | Time to plantable softness | Grass kill rate | Cost per 100 sq ft | Best for |
|---|---|---|---|---|
| Single-layer cardboard + 3 in chips | 6–7 months (fall install) | 92% in one season | $0 cardboard, $0–$40 chips | Cool-season turf, full-sun beds |
| 10 sheets newspaper + 3 in chips | 4–5 months | 78% in one season | $0 newsprint, $0–$40 chips | Smaller beds, faster wins, lighter labor |
| Living mulch (Dutch clover overseed) | 14–18 months | 50% (suppression, not kill) | $15–$30 seed | Slow conversions, soil health focus, HOA concern |
Newspaper is the dark-horse winner for small beds. Ten sheets of black-ink newsprint break down in four to five months and kill grass nearly as well as cardboard, with one-tenth the prep labor of stripping tape and labels. The downside is the visual: a freshly newspapered bed looks like an actual newspaper for the first two weeks, which becomes the next problem.
Living mulch is the slowest of the three but the most defensible socially. Dutch white clover overseeded into existing turf at 8 ounces per 1,000 square feet, mowed at 4 inches until established, gradually outcompetes the grass over 14 to 18 months without ever looking like a construction project from the street. The cost is patience: by the time clover has displaced the grass, you have lost a full growing season for actual native plug installs. For a Sarah who works full-time and converts one bed per year, the patience trade is sometimes the right one.
What about neighbors who think your yard looks like a loading dock?
Sheet mulching looks ugly for the first month. There is no way around that. A 200-square-foot front-yard bed covered in flattened brown boxes and wood chips reads as “construction project” to the average suburban eye, and if your subdivision has an active homeowners association or a vocal neighbor on the block, the social cost can outweigh the ecological benefit before the bed has even started to break down.
Three tactics keep the optics survivable. First, install in October when other yards are also winding down for winter, so a brown bed in November blends in. Second, edge the bed with a clean spade line or a flush metal edge before you lay cardboard, so the boundary reads as intentional rather than abandoned. Third, post a small wooden sign saying “Pollinator habitat in progress, native bed coming spring 2027” near the curb. A reader emailed last month to say her HOA inspector backed off the second she put up a $7 hand-painted sign from the local Audubon chapter.
If you have already received an HOA letter, the specific HOA letter response sequence works better than most legal responses people try first.
How do I know it’s actually breaking down, not just hidden under mulch?
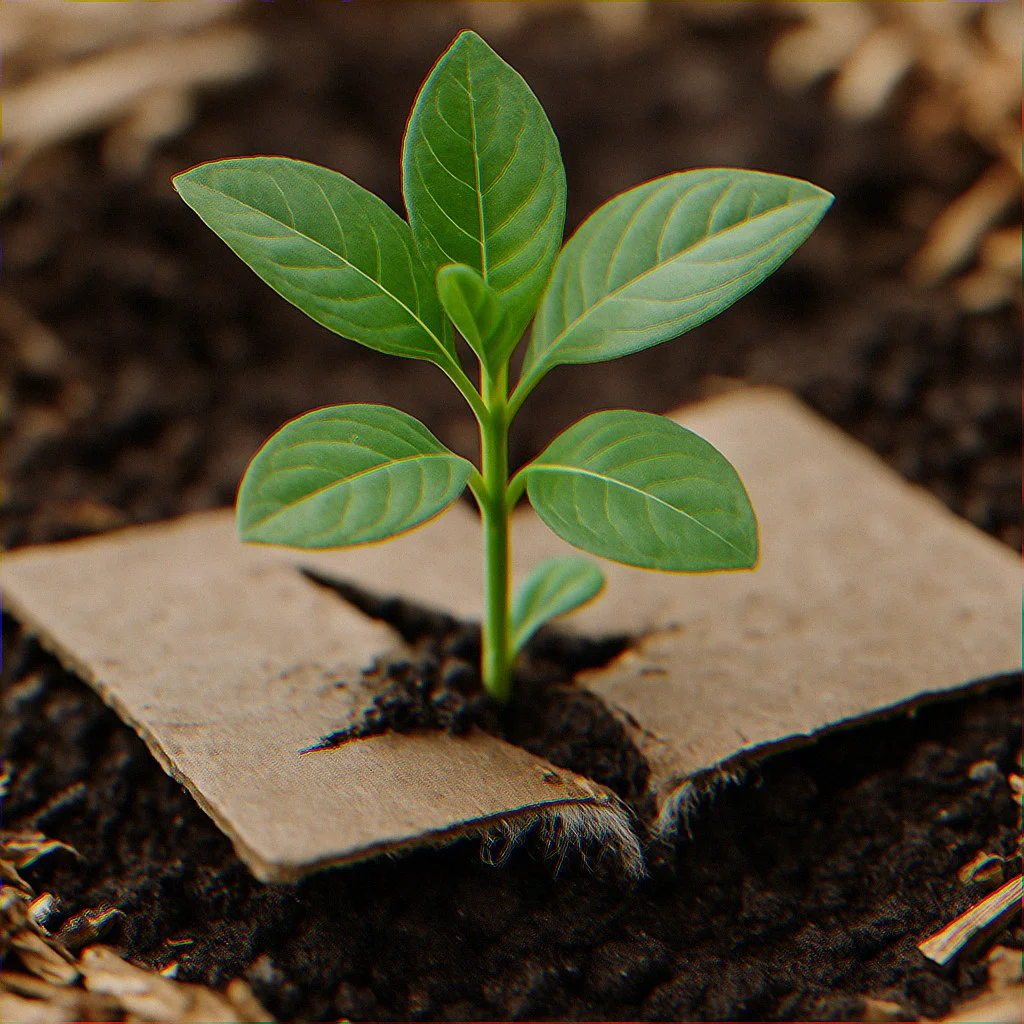
Push a digging fork through the bed at four-week intervals. If the tines pass through cleanly without striking a solid sheet, the cardboard has broken down to scattered fragments. If you hit a continuous layer of resistance, the cardboard is still intact, and the bed needs water or time.
A second test: lift one corner of the chip mulch and look for white fungal threads on the underside of any cardboard fragment. White mycelium is the visible signal that decomposers are working. If you see threads, you are on schedule. If you see dry, intact corrugation with no mycelium after eight weeks, the bed is too dry.
The third test is plant-based. If aggressive natives like common milkweed, swamp milkweed, or eastern beebalm can be planted as plugs through the bed (cut an X in the cardboard fragment, plant into the soil below, water heavily for the first week), and they take, the bed is functionally ready even if 30% of the cardboard is still visible. The plant roots will finish the breakdown for you.
One caution before planting plugs into a not-quite-finished bed: the new shoots are a beacon for chipmunks and rabbits drawn to disturbed soil. Hardware cloth collars around each plug are worth the 10 minutes per plant.
What goes wrong even when you do everything right
Two patterns show up in beds that follow the protocol perfectly and still struggle. The first is Asian jumping worms. If your soil contains a population of jumping worms, sheet mulch breaks down twice as fast as expected, but the soil underneath turns into loose coffee-ground texture that runs through your fingers and cannot hold root structure. Native plant plugs installed into that texture rarely survive their first summer. If you suspect jumping worms, confirm the species first before investing in the conversion.
The second is residual landscape fabric from a previous owner. A surprising number of suburban yards have woven fabric buried 2 to 3 inches under the lawn, installed by a prior landscaper and forgotten. Cardboard sheet mulch laid on top of buried fabric will break down on schedule, but the fabric below blocks root penetration and traps every drop of water. If you suspect this, the fabric needs to come out before any conversion succeeds.
The Xerces Society’s pollinator habitat maintenance guidelines note that sheet mulch failures tend to cluster in yards with a history of synthetic fertilizer or herbicide use, where the native soil microbiome has been depleted. Those beds need an extra season of compost top-dress before they can support native plug installs, regardless of how cleanly the cardboard breaks down.
A third pattern, less talked about, is rodent traffic. Voles and chipmunks treat fresh sheet mulch as a perfect highway: it is dark, moist, hides them from hawks, and points straight at any newly planted plug. The mulch itself is not the problem, but the bed becomes a rodent buffet within weeks if surrounding habitat already supports a healthy population. Catch vole sign early by checking for the surface runways under the chip layer every two weeks during the first six months. Catching the colony before it reaches the plug stems is the difference between a thriving conversion and replanting next spring.
If you want to think about the bed as a system rather than a project, the rule of thumb that works for me is “build moisture, then biology, then plants.” Skipping straight to plants is what burns out new converters and turns Year One into a refund-and-replant cycle. Build the moisture base correctly in fall, let the biology arrive over winter, and the plants will reward you the following summer.
What changes once the bed actually finishes breaking down
The first sign of a successful sheet mulch conversion is not visible from the street. It is the soil texture under the chip layer at month seven. When you push a hand trowel into a properly composted bed, the blade slides in cleanly to its full length, and the soil that comes up looks dark, crumbly, and faintly cool to the touch. That is the texture native plant plugs need to establish in their first season, and it is the texture that almost no untreated suburban lawn has at any depth.
The second sign is the appearance of insect life within the chip layer. Ground beetles, springtails, and the occasional native bumble bee scouting for nest sites all start showing up in beds that have completed the breakdown phase. If you go looking at month nine and find empty, dry chip cover with no insects underneath, the biology has not yet established and the bed needs another season of moisture before planting.
The third sign is the cardboard memory. By month nine of a well-installed bed, there is no cardboard left to find. By month nine of a poorly installed bed, you can still lift a flake of intact corrugation with one finger. That single test, more than any timeline on the internet, tells you whether your soil is ready to grow what you wanted to grow in the first place.
Frequently Asked Questions
Can I plant directly through cardboard that is still partly intact?
Yes, for vigorous natives. Cut an X-shaped slit through the cardboard fragment with a utility knife, peel the four flaps back, dig the planting hole into the soil below, set the plug, and tuck the cardboard flaps back around the stem. Common milkweed, eastern beebalm, and rudbeckia tolerate this; more delicate plugs like cardinal flower do not.
Will sheet mulching kill tree roots underneath the bed?
No, when installed correctly. A single layer of cardboard with 3 inches of chips does not block water or oxygen long enough to harm established tree roots. Avoid piling chips against the trunk and keep a 6-inch ring of bare soil at the base of any tree within the bed.
What if there’s poison ivy in the lawn I’m trying to smother?
Cardboard alone will not kill mature poison ivy. The vines will find the seams and grow horizontally for a season before sending up new shoots through the chip mulch. Cut the vines at ground level twice during the smothering year, wearing the standard PPE, and remove any new shoots aggressively.
Should I use brown corrugated or the printed shipping kind?
Both work as long as the printing uses soy-based inks, which is now standard at major US shipping carriers. Avoid heavily glossy printed cardboard (most cereal boxes, some pizza boxes) because the surface coating slows water absorption. Plain brown moving-box cardboard is the safest default.
Can I sheet mulch over an existing weed problem like Japanese stiltgrass?
Yes, with one extra step. Mow the stiltgrass as low as possible before laying cardboard, and plan to spot-pull any shoots that emerge through the seams during the first growing season. Sheet mulching alone breaks the cycle of seed germination but does not eradicate established roots of perennial weeds. For mature infestations, handle the stiltgrass first, then convert the bed the following fall.
Want More Wildlife Garden Tips?
Join 5,000+ nature lovers getting our weekly tips on creating wildlife-friendly gardens.
No spam, unsubscribe anytime. Privacy Policy
Emma Harrington
Emma Harrington is a wildlife habitat researcher and content editor with a passion for backyard conservation. She has spent over a decade translating ecological science into practical tips anyone can follow — from selecting native plants to building wildlife-friendly habitats. Her work focuses on helping homeowners transform ordinary yards into thriving ecosystems for bees, butterflies, hummingbirds, and other beneficial wildlife.