A lot of well-intentioned yard transformations seem to falter somewhere between the idealized Pinterest pin and the reality that comes months later. I remember hearing someone mention their experience of seeding clover over soil and cardboard, only to find the cardboard hadn’t decomposed properly. This left them wondering how to proceed when the clover struggled to thrive. If you’ve ever stood in a half-converted patch of grass with a tray of native plants, questioning why the ground still feels like a cardboard box, you’re not alone in that experience.
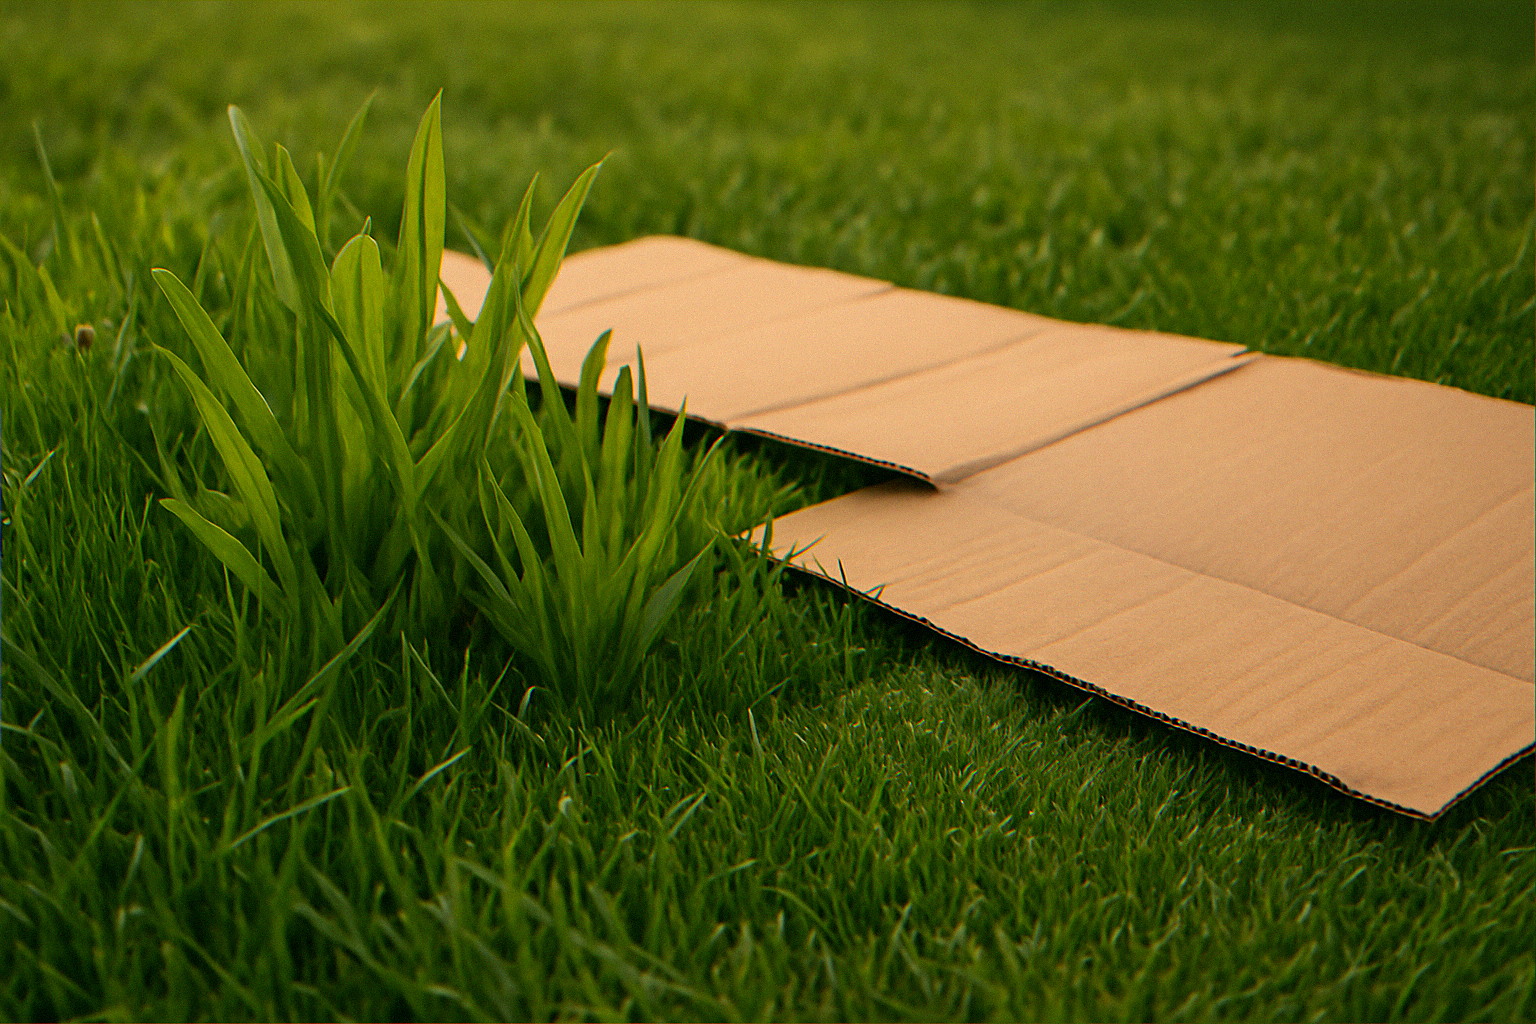
Smothering a lawn with cardboard absolutely works for converting turf to native prairie. It is also the single most over-promised step in the entire lawn-conversion universe. The actual conversion runs eight to ten months, requires three specific layers most blog posts skip, and only delivers the “homegrown national park” payoff in year two. This guide walks the realistic version, addresses the part of the project that gets you a side-eye from the HOA, and tells you exactly what to do when the cardboard refuses to rot.
The “Just Lay Cardboard” Advice That Burned a Lot of First-Time Lawn Killers
If you’ve spent time exploring native plant resources online, you likely know the compelling argument for reducing lawn spaces. It’s staggering to think that forty million acres of lawn in America is consuming roughly eight billion gallons of water daily. Entomologist Doug Tallamy has dedicated years to advocating that reducing lawn areas could significantly help address pollinator decline. His Homegrown National Park project aims to create twenty million acres of private land dedicated to native plants. The evidence is clear: ripping up grass, planting native species like milkweed, and joining this movement is a step in the right direction.
FREE: Wildlife Garden Starter Guide
Get our 12-page PDF with the 25 best plants for pollinators, simple habitat tips, and a printable checklist — all 100% free.
No spam. Read our Privacy Policy.When it comes to implementing a lawn conversion, you’ve likely seen the advice circulating that suggests simply laying down cardboard to kill the grass. This guidance isn’t entirely incorrect, but it’s far from complete. The individuals sharing this often live in regions with consistent rainfall, rich clay soil, and thriving earthworm populations that break down cardboard much faster than what many of us experience.
For everyone else, the cardboard method stalls. The sheet stays mostly intact through summer. Bermuda grass and quackgrass tunnel underneath and pop through the seams. Clover seed sits on top, sprouts, then dies because its roots cannot punch through the cardboard. Eight months in, you are looking at a yard that is neither lawn nor prairie, just a brown rectangle that the neighbors have started talking about at the mailbox. The pain is not the cardboard. The pain is being told this would be the easy step.
The frustration in those threads is real and worth naming directly. Sarah-the-suburban-pollinator-warrior did not sign up to be embarrassed in her own front yard. She signed up to swap a chemical-soaked lawn for a thriving micro-ecosystem, and the internet handed her a one-line trick that left her stranded mid-conversion. So before we get to the timeline that actually works, it helps to understand why the trick fails so often.
Why the Cardboard Method Stalls Out (Three Things Nobody Mentions Until It Is Too Late)
Cardboard is essentially a dense lignin-and-cellulose mat. It rots only when three biological conditions are all met: it stays consistently moist, it is in close contact with active soil microbes, and it is buried under enough mulch to keep its temperature stable. Strip away any one of those, and decomposition slows to a crawl. Most lawn-killing tutorials only mention the first.
Stall #1: It dries out. Cardboard laid in a hot, sunny yard with sparse rainfall basically mummifies. The corrugated channels lose moisture from both sides, and the lignin sits there indefinitely. There are well-documented cases on extension-service write-ups of cardboard mulched in spring still being intact a full year later, particularly in dry-summer climates where the homeowner stopped watering once the grass underneath visibly died. Dry cardboard is, functionally, a permanent weed barrier — which is the opposite of what you want under perennial native plugs.
Stall #2: It is not in contact with soil. Lay cardboard on top of a thatchy, three-inch-tall lawn and a surprising amount of it never actually touches mineral soil. It floats on a cushion of dead grass blades, gets a layer of mulch piled on top, and the gap between the cardboard and the real soil microbes acts as an insulator. The microbes that turn cardboard into humus live in the top half-inch of soil. They do not climb up to meet you.
Stall #3: The mulch layer is too thin. Most homeowners eyeballing a “couple of inches” of mulch end up with one to one-and-a-half inches once it settles. Underneath that thin cap, cardboard cycles between hot and cold, wet and dry, on a daily basis. Decomposition organisms hate temperature swings. They want a buried, stable, damp environment that mimics a forest floor. Three inches of mulch minimum, four if your summers are dry, is not optional. It is the entire engine of the system.
One critical factor that often goes unmentioned is the possibility of finding outdated landscape fabric buried beneath your lawn. If you dig and discover that a previous homeowner buried plastic weed cloth a few inches down, you’ll realize that no amount of cardboard will remedy the situation. I once read about someone who made this discovery and regrettably had to dig everything up. If you encounter resistance while digging and pull up bits of mesh, pause your cardboard project and address that fabric first. Remember, native plant roots can’t thrive over plastic.
What Cardboard Smothering Actually Costs in Time, Cash, and Sweat
Here is the part that gets glossed over in the “free, easy, no-dig” pitch. Smothering a thousand square feet of lawn — about the size of a typical front-yard conversion — runs roughly the following budget when you do it right.
- Cardboard: 60 to 80 standard moving boxes, broken down flat. Free if you scavenge from neighborhood recycling bins, the back of appliance stores, or post a “boxes wanted” notice on Buy Nothing groups. Two to three weekends of collection if you do not have a moving company nearby. Avoid anything glossy, heavily printed in color, or with shipping labels still attached.
- Mulch: Three to four inches of arborist wood chips over a thousand square feet equals roughly ten to twelve cubic yards. From a tree-care company doing local drops via a service like ChipDrop, this is free but unpredictable in timing. Bagged from a big-box store, you are looking at $300 to $500. Bulk delivery from a local landscape supplier runs $250 to $400 plus a delivery fee. Avoid dyed mulch — the dye does not biodegrade cleanly and natives evolved on undyed forest litter.
- Water: 200 to 400 gallons over the smothering period to keep the cardboard layer moist enough to rot. If you are on a meter, that is real money in a dry summer. If you are on a well, it is real time spent dragging hoses.
- Plugs: 300 to 500 native prairie plugs at $2 to $3 each from a regional grower like Prairie Moon, Prairie Nursery, or your local native nursery. That is $600 to $1500 for genuinely diverse coverage at the recommended one-foot spacing. You can cut this in half with bare-root or seed, but plugs give you a defensible-looking yard a full year sooner.
- Sweat: Roughly 20 to 30 hours of physical work spread across the eight-month conversion. Box prep, hauling, mulch spreading, edge maintenance, watering, and eventually planting. This is the line item that surprises people. A homeowner I know who converted a full city lot described the prep work as starting with stripping out grass and weeds using a mower and shovel, then rototilling the badly compacted soil — and that was just the prep before the cardboard even went down.
All in, a thousand-square-foot conversion runs $400 to $1800 and three weekends of meaningful labor. Compare that to a landscaping company doing the same conversion for $8,000 to $15,000 and the math still wildly favors DIY. Just go in with the right number in your head from week one, not week thirty.
The Realistic 8-Month Timeline From First Cardboard to First Plug
The version of this timeline that actually delivers a planted yard runs March through October in most of the central and northern US, or September through May along the Gulf Coast and southern California. Adjust by climate, but the sequencing is the same.
Month 1 — Mow, mark, and overlap. Mow the existing lawn as low as the mower will go. Bag the clippings if you have invasive grass species like Bermuda or quackgrass; otherwise leave them where they fall as a nitrogen-rich green layer. Mark the conversion edge with a garden hose laid in a curve, not a straight line — curved beds blend into a yard far better than rectangles and triggers fewer “is that intentional?” comments from neighbors. Lay flattened cardboard with eight to ten inches of overlap at every seam, no gaps, no peeking turf. Tape, staples, and shipping labels off. Wet the cardboard heavily as you go — every square foot needs to be saturated, not damp.
Month 1 (still) — The mulch layer that actually works. Three to four inches of undyed arborist chips, leaf mulch, or aged hardwood mulch directly on top of the wet cardboard. Walk the entire surface to seat the chips and remove air pockets. The pile should look excessive. If it looks “tasteful,” it is too thin.
Months 2 through 4 — Watering and edge defense. Soak the bed once a week if there is no rain. The cardboard is not done its job until it has stayed moist for at least eight consecutive weeks. Walk the perimeter monthly with a sharp spade and chop any runner grasses trying to invade from the lawn side. This step is where Bermuda and quackgrass conversions usually fail — the cardboard kills the surface grass but the rhizomes underneath the lawn beyond the bed will sprint back in if the edge is not actively defended.
Months 5 through 6 — The first peek. Pull back a corner of the mulch and look. Cardboard should now be a soft, papery, brown layer that tears easily by hand. If it tears, you are on schedule. If it still feels like cereal-box stock, see the next H2 — the three-layer-stack fix is what unblocks dry-climate stalls.
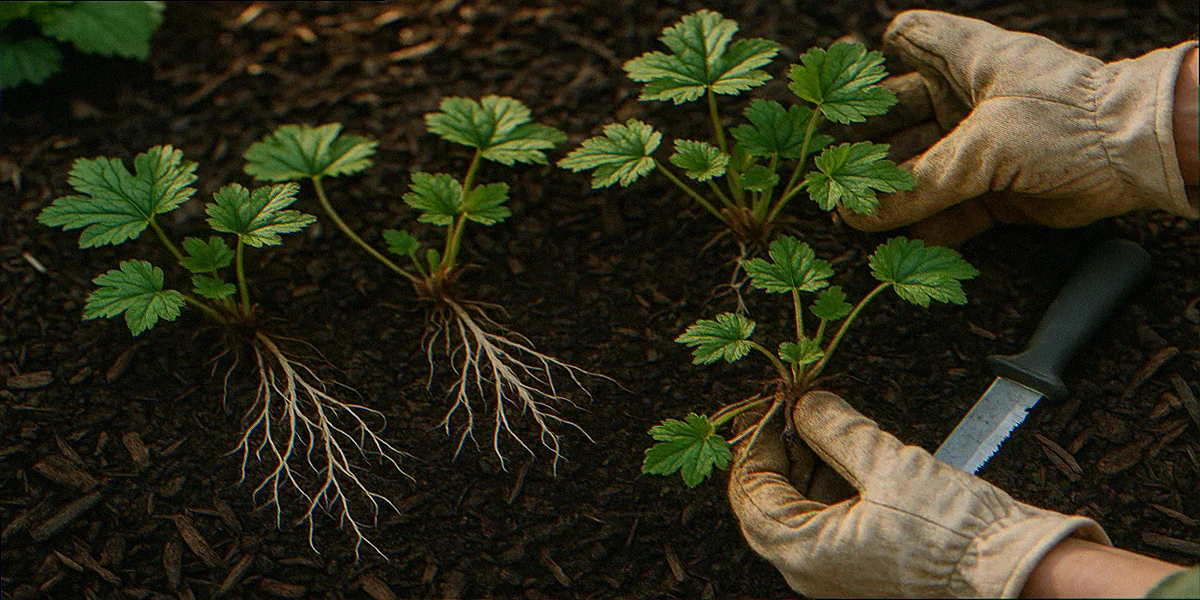
Month 7 — Plug planting. Cut a six-inch X through the cardboard with a hori-hori knife. Push aside the flaps. Plant the plug directly into the soil underneath. Fold the cardboard flaps back around the plug stem. Push mulch back over the seam. Water in heavily. Repeat 300 to 500 times. This is the day that justifies all the previous months.
Months 8 onward — Establishment. Hand-water plugs twice a week for the first six weeks. After that, native prairie species are mostly on their own. Year-one growth above ground will be modest — most plugs put eighty to ninety percent of their energy into root systems the first year. This is normal. This is also the part of the timeline that breaks people emotionally if they were not warned.
The Three-Layer Stack That Forces Cardboard to Break Down (Even in a Dry Yard)
If you live somewhere the cardboard does not reliably rot in eight weeks — most of the western US, Texas, the high plains, and increasingly the drought-belt parts of the Midwest — the standard one-layer cardboard stack is not enough. The fix is a three-layer biological sandwich that engineering-minded gardeners have quietly been using for years and that almost never makes it into the mainstream “no-dig” tutorials.
Layer 1: A green compost activator directly on the lawn. Before any cardboard touches the ground, spread a half-inch of fresh grass clippings, coffee grounds, alfalfa pellets, or aged manure on the mowed turf. This nitrogen-rich layer becomes microbe food. It also keeps the soil-cardboard interface humid even in dry weeks. Skip this and the cardboard sits on dead grass thatch, which insulates and dries out.
Layer 2: Cardboard, fully soaked and seamed. Same as the standard method, but with one tweak — pre-soak each box in a wheelbarrow or kiddie pool of water for fifteen minutes before laying. Pre-soaked cardboard absorbs four to five times more water than surface-watered cardboard, and that interior moisture is what powers the microbial breakdown. Stack heavily soaked sheets two-deep on Bermuda or quackgrass zones.
Layer 3: Mulch, then a top dusting of finished compost. Three to four inches of arborist chips as before, then a quarter-inch sprinkle of finished compost on top. The compost is not for the plants. It is microbial inoculant — it seeds the mulch with the exact decomposer fungi and bacteria that will work down through the chips and into the cardboard from above. Two attack vectors instead of one.
This three-layer stack reliably gets cardboard to a “shreddable in your hand” state in twelve to sixteen weeks even in a dry-summer yard, versus the indefinite stall of a single-layer attempt. It is the single most useful fix in this entire guide if you have ever pulled back a corner six months in and found a brown brick where the cardboard should have been.
One additional rescue play: if you are already six months into a stalled bed and the cardboard is still mostly intact, do not start over. Lift the mulch in a one-foot strip, score the cardboard with a utility knife in a tight grid, sprinkle compost into the cuts, soak heavily, and re-cover. The grid cuts give microbes new entry points and typically finish the breakdown inside another four to six weeks.
What to Plant the Second You Pull Back the Mulch (And What to Wait On)
The plant list is where this conversion either turns into a thriving prairie or a $1500 garden of $3 plug funerals. Year-one survivability is the entire game, and not every native is built for it.
Plant immediately, in the first planting weekend:
- Little bluestem (Schizachyrium scoparium) — the structural backbone of nearly every Eastern and Midwestern prairie. Drought-tolerant from day one, turns copper-red in fall, and reads as “intentional landscaping” to even the most suspicious HOA.
- Butterfly milkweed (Asclepias tuberosa) — taproot establishes deep and fast. Far more reliable in year one than swamp milkweed or common milkweed for new beds.
- Black-eyed Susan (Rudbeckia hirta or Rudbeckia fulgida) — blooms heavily in year one, which buys you instant aesthetic credibility while the slower species root in.
- Wild bergamot (Monarda fistulosa) — pollinator magnet, tough, and visible enough that even people who hate native gardens will admit your bed “looks like flowers.”
- Prairie dropseed (Sporobolus heterolepis) — fine-textured native grass that visually softens the bed and provides winter structure.
Wait until year two:
- Compass plant, prairie dock, lead plant, and any deep-tap-rooted oversized prairie species — these spend year one putting six feet of root down before they bother making leaves. Plant in year two when the bed is already established and you can tolerate the wait without panicking.
- Penstemon and most native Salvia species — they crown-rot in freshly mulched, freshly watered beds. Plant after the bed has settled through one full summer.
- Shrubs and small trees — these need root room the cardboard layer is not yet ready to give them. Cut full-sized planting holes through to soil, but wait a year if you can.
Always cross-reference your specific county against the BONAP North American Plant Atlas before making any purchases. Just because a plant is labeled as “native” at a big box store doesn’t mean it’s suitable for your area. I’ve heard from various sources that major retailers have been criticized for selling plants that are invasive in certain regions while labeling them as native wildflowers. Spending a mere ten minutes to verify each plant can save you the heartache of discovering that the milkweed you thought was right for your local monarchs isn’t what you need.
“My Neighbor Already Sent a Photo to the HOA”: Defending the Bare Patch Through Year One
This is the part of lawn conversion that almost nobody warns you about, and it is the single biggest reason people abandon the project at month three. A converting prairie does not look like a prairie for the first year. It looks like a brown rectangle of mulch with some sad little plugs poking through. To the neighbor across the street who has spent forty years equating “tidy lawn” with “responsible homeowner,” it looks like neglect. To the HOA architectural committee, it looks like a violation waiting to happen.
I’ve noticed a lot of discussions around the challenges of native gardening. One person I spoke with mentioned wanting to remove bushes because they heard neighbors say they were harboring rats. Another chimed in with an insightful observation about how the term “rat nest” might really just mean that the garden doesn’t look manicured like a typical suburban yard. While the judgment from others can be tough to bear, it tends to fade quickly once your garden appears intentional and cared for. A few strategies can help you win over those critics.
Defense 1: A crisp, mowed edge. The single highest-leverage curb-appeal move on the entire conversion is a six-inch strip of remaining lawn along sidewalk and driveway, mowed sharper than anything else on the block. The contrast between the manicured strip and the mulched bed signals “design choice” rather than “given up.” Skip the mowed border and the same bed reads as derelict. Same plants, same mulch, dramatically different social reception.
Defense 2: A small sign or marker. Wild Ones, the National Wildlife Federation, and the Xerces Society all sell small habitat-certification signs, and a $25 metal placard that says “Pollinator Habitat — Certified” or “Monarch Waystation #XXXXX” reframes the entire bed in the eyes of a passing neighbor. It is no longer a bare patch. It is a project with an institutional endorsement. HOA boards are demonstrably less aggressive against signed beds than unsigned ones — the sign communicates that you have done research and are not freelancing.
Defense 3: Read your covenant before you start, not after the letter arrives. Most HOAs do not actually ban native gardens. They ban “weeds over twelve inches.” There is a meaningful difference. If your covenant has a height clause, your year-one plant list should weight heavily toward shorter species — little bluestem, butterfly milkweed, black-eyed Susan, prairie dropseed — and you can defer the six-foot ironweed and joe-pye-weed to year two when the bed structure is established and easier to defend. In some jurisdictions, including a growing list of states like Maryland, Minnesota, and Maine, native-plant gardens are legally protected from HOA enforcement entirely. Print the relevant state statute, keep it in a folder, and produce it the moment you receive a letter. Most architectural committees back down once they realize they are not on solid legal ground.
The honest truth is that year one of any lawn conversion is the awkward year. By year two the structure fills in, the bloom sequence carries the bed from May through October, and the same neighbor who sent the photo to the HOA is now asking you where you got your milkweed. It happens with surprising regularity in these threads. The bed becomes the talk of the block in a different way once the butterflies arrive.
What Year Two Actually Looks Like (And When You Can Finally Cancel the Mower)
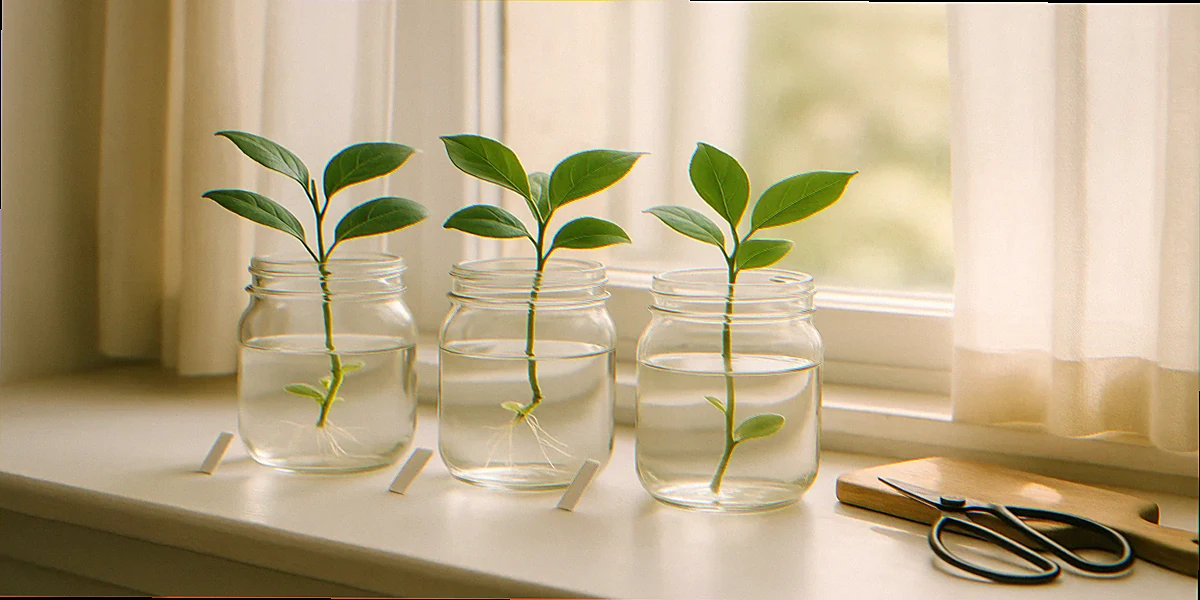
This is the payoff section. Everything in the eight-month timeline is a setup for what year two delivers, and most homeowners who quit in month four quit because they did not know what was coming. So here, concretely, is what year two on a properly converted thousand-square-foot prairie bed looks like.
By April: The little bluestem returns from crown with twice the density of year one. Wild bergamot pushes new shoots from spreading rhizomes. The bed reads green from the curb for the first time. Mulch has thinned to about an inch and the cardboard layer is fully gone — at this point the soil is doing the work, not the engineered stack.
By June: Black-eyed Susan and butterfly milkweed bloom heavily. Pollinators arrive in numbers most homeowners find genuinely shocking the first time they see it. Bee, butterfly, and hoverfly counts on a converted prairie bed routinely run ten to thirty times the count of an equivalent square footage of turf. The transition from “is this a garden?” to “wait, what is happening over there?” usually completes during this month.
By August: Year-two ironweed, joe-pye-weed, and any tall species you held until now are blooming at four to six feet. The structure of the bed is fully readable as designed. Goldfinches show up to eat seed heads. Monarchs use the milkweed for breeding. The “rat nest” framing collapses on contact with the actual visual.
By October: The bed enters its second fall in full prairie character. Little bluestem and prairie dropseed turn copper. Seed heads stand for winter interest and bird food. You leave them up rather than cutting them back — overwintering native bee species depend on the standing stems.
By spring of year three: You are mowing what is left of the lawn perimeter four to six times a season instead of weekly. The mowed-edge strip is your only obligation. Annual maintenance on the prairie itself runs roughly two hours of cutback in early spring and an occasional pull of any invasive that drifts in from the neighbor’s yard. The mower goes from weekly burden to occasional tool. By year four most converters either downsize to a battery push mower or sell the gas mower entirely.
That is the trade. Eight to ten months of awkward staging, one season of patient establishment, and a permanent reduction of irrigation water, fertilizer, gasoline, and weekend hours. Plus a yard that actively functions as wildlife habitat instead of a green carpet that looks alive but supports almost nothing.
The cardboard method isn’t a miracle solution. It’s neither free nor particularly quick. However, when executed with the right mulch depth and a layered stacking approach, plus a solid first-year plan to tackle social perceptions, it can indeed fulfill the promise seen in many gardening discussions. The time frame often gets lost in simplistic tutorials, but now you have a realistic timeline to work with.
What I get asked the most
Can I plant directly into the cardboard the same spring I lay it?
Only with full-sized native shrubs or large perennials where you cut a generous hole through the cardboard down to mineral soil. For prairie plugs and seeds, give the cardboard at least four to six months to soften first. Roots punching through fresh, intact cardboard is the most common cause of year-one plug failure.
What if I can only get one weekend to do this — fall or spring start?
Fall is the better start window in nearly every climate. Cardboard laid in October decomposes through the winter rain and snow, the bed is ready for spring planting, and you avoid summer-stall in dry climates. Spring starts work but require active watering all summer to keep the cardboard moist.
Will sheet mulching work on Bermuda grass or quackgrass?
Yes, but only with the three-layer stack, doubled cardboard on the worst patches, and an active perimeter defense to chop runners coming in from the surrounding lawn. Single-layer cardboard on Bermuda almost always fails — the rhizomes simply route around the bed and pop up wherever they find sunlight.
What about solarization with clear plastic instead of cardboard?
Solarization works in zones with reliable summer heat — Texas, the southwest, and the warmer parts of California. Four to six weeks of clear-plastic baking can pre-kill grass before you even lay cardboard. It is faster than cardboard alone but requires summer sun and adds a plastic-disposal step. For most temperate climates, the cardboard-and-mulch stack is the cleaner option.
Can I use newspaper instead of cardboard?
Six to eight layers of overlapping newspaper works for converting beds that previously held annual flowers or vegetables. For converting living lawn, especially aggressive grasses, newspaper alone is usually too thin. Cardboard or a newspaper-cardboard sandwich gives you the smother-time you need.
How do I find local native plugs without paying nursery markup?
Three reliable sources: regional native-plant societies often run spring plant sales at member prices; local soil and water conservation districts run annual bare-root sales in late winter; and a growing number of native nurseries like Prairie Moon, Prairie Nursery, and Izel ship plugs directly. Big-box-store “wildflower mixes” are not a substitute and frequently contain non-native filler — verify every species against your county-specific list on BONAP first.
For a deeper dive into the science of pollinator habitat installation and the underlying research on plug-based prairie establishment, see the Xerces Society guidelines for establishing pollinator meadows, which informs much of the spacing and species-selection guidance above.
Want More Wildlife Garden Tips?
Join 5,000+ nature lovers getting our weekly tips on creating wildlife-friendly gardens.
No spam, unsubscribe anytime. Privacy Policy
Emma Harrington
Emma Harrington is a wildlife habitat researcher and content editor with a passion for backyard conservation. She has spent over a decade translating ecological science into practical tips anyone can follow — from selecting native plants to building wildlife-friendly habitats. Her work focuses on helping homeowners transform ordinary yards into thriving ecosystems for bees, butterflies, hummingbirds, and other beneficial wildlife.