
The first bed I laid out in 2021 had twenty plants in a four-by-six-foot rectangle. By August, seven were dead. The math sounded right on the tag. Three-foot mature spread, two-foot spacing, room to breathe. But I’d missed the rule that matters more than any number printed in a catalog. The dead plants weren’t drought victims or deer victims. They were spacing victims, killed by the very thing every gardening book tells you to respect.
If you have ever stood in a half-finished bed with a flat of plugs in one hand and a tape measure in the other, paralyzed by the decision of where exactly each plant goes, you are not alone. The most common pain I hear from first-time native gardeners is a quiet two-part confession: I get analysis paralysis For the design, and I have lost too many plants by trying to tell them where to be. Both come from the same root mistake, and once you see it, every layout decision becomes easier.
This article walks through how far apart to plant natives in a new in-ground bed, why nursery tags lie about the spacing you need in year one, and a sample 4×8 layout with exact plant counts so you can stop staring at the bare patch and start digging.
FREE: Wildlife Garden Starter Guide
Get our 12-page PDF with the 25 best plants for pollinators, simple habitat tips, and a printable checklist — all 100% free.
No spam. Read our Privacy Policy.
Where “I Lost Too Many Plants” Really Comes From
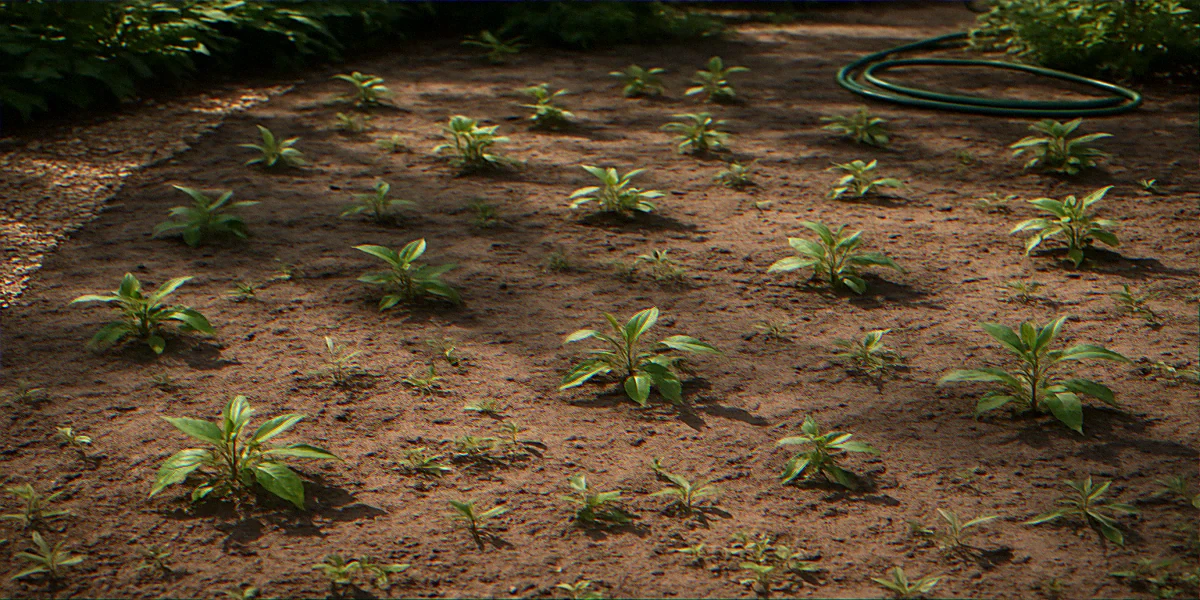
Native plants do not behave like the hostas and daylilies most of us grew up with. When the tag says “mature spread: 36 inches,” it means after three full growing seasons of established root systems and ideal weather. Spacing your first-year plugs that far apart in a bare bed creates a structural problem that has nothing to do with the plants themselves.
The problem is the soil between them. A native bed planted on tag-spacing in spring is roughly sixty percent bare dirt going into summer. That bare dirt is a runway for crabgrass, bindweed, smartweed, and every windborne annual weed that has been waiting for an opening. The weeds are not just ugly. They steal water and nitrogen that your plugs need in their first ninety days, when most native species are running their roots down rather than putting on visible top growth.
The second invisible cost of tag-spacing is competition for what gardeners call a soil signal. Many native species. Especially asters, goldenrods, and the rudbeckias. Recruit fungal partners from the soil around an existing colony of the same species. A lone plug sitting three feet from any neighbor takes longer to find those partners. A cluster of three plugs eight inches apart finds them in weeks.
So the math from the nursery tag is technically correct for year three. It is wrong for year one. And year one is when most of the dying happens.
Mature Spread Is the Wrong Number. Use Establishment Spacing Instead
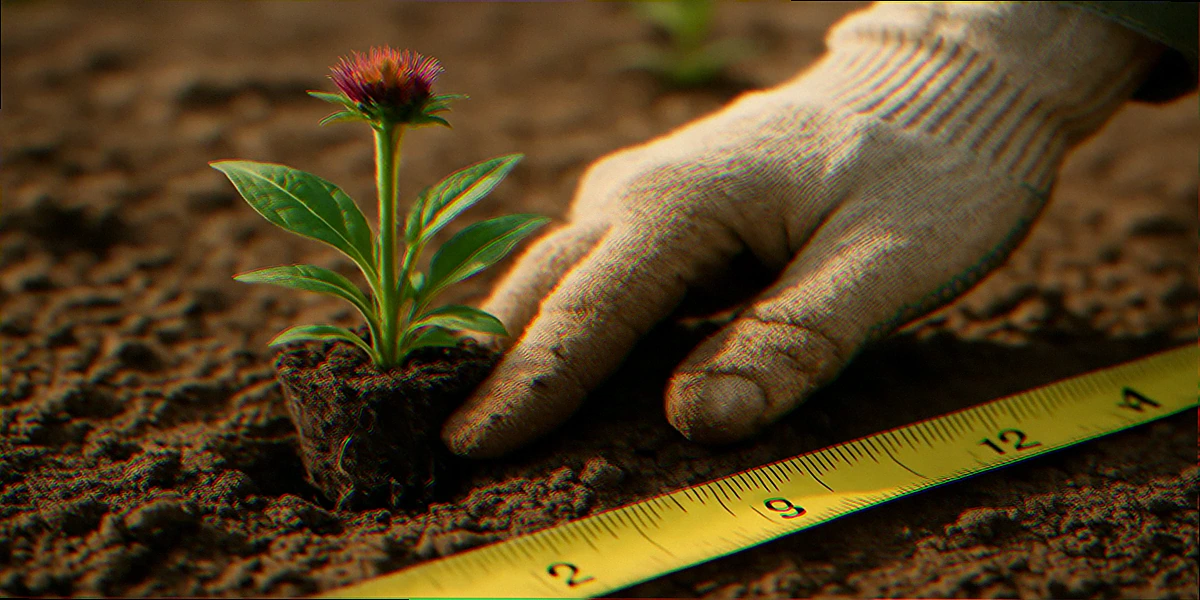
Restoration ecologists who plant prairie strips for state parks do not use mature-spread numbers when they’re laying out plugs. They use a number called establishment spacing, which assumes some early plant loss and prioritizes ground coverage over individual specimen growth.
Here is what establishment spacing looks like in practice for common Eastern native species. The first number is what nursery tags say. The second is what works in a real first-year bed.
| Plant | Tag spacing | Establishment spacing |
|---|---|---|
| Echinacea purpurea (purple coneflower) | 24 inches | 12 to 14 inches |
| Monarda fistulosa (wild bergamot) | 30 inches | 14 to 16 inches |
| Rudbeckia hirta (black-eyed Susan) | 18 inches | 10 inches |
| Asclepias tuberosa (butterfly milkweed) | 18 inches | 12 inches |
| Schizachyrium scoparium (little bluestem) | 18 inches | 12 inches |
| Symphyotrichum novae-angliae (New England aster) | 36 inches | 18 inches |
| Solidago speciosa (showy goldenrod) | 24 inches | 14 inches |
| Pycnanthemum tenuifolium (slender mountain mint) | 24 inches | 15 inches |
Roughly half the tag distance is the rule of thumb. In a soil that drains fast or in full sun where you want quick canopy closure to shade out weed seedlings, you can push that to forty percent of the tag distance and still be fine.
One side effect: some plants will overlap by year two. That is the point. You are letting them grow into a continuous root mat, which is how an actual native meadow behaves. You can divide later, or you can let the more aggressive species win the patch they would have won in a meadow anyway.
The Two Numbers You Actually Need: Plants Per Square Foot and Cluster Size
Forget the tape measure for a moment. Two numbers do most of the work in a new bed: density and cluster size.
Density. For a sun-prairie style bed planted entirely from plugs (two-inch or 38-cell trays), aim for one plug per square foot. A 4×8 bed is thirty-two square feet, which means thirty-two plugs total. If you are mixing plug sizes. Some quart pots, some plugs. Count a quart pot as roughly four plugs of coverage. A 4×8 bed with three quart-sized plants and twenty plugs reads to the eye as full by mid-July of year two.
Cluster size. Plant the same species in groups of three to seven, not as singletons. Three is the minimum for visual readability and for the fungal-partner reason from earlier. Seven is the upper end before a cluster starts to look like a monoculture patch. Five is the sweet spot for most beds.
The reason cluster planting matters more than people realize is that it lets you skip the agonizing question of where to put each individual plant. Once you decide on five clusters of five different species, plus three single-specimen anchor plants, the layout solves itself. You are not making thirty-two decisions. You are making eight.
A reader from the local Wild Ones chapter put it this way to me last spring: the first bed I planted as ones-and-twos looked like a sample case at a garden show. The first bed I planted in fives finally looked like something that lived there.
A 4-by-8-Foot Native Bed Plan With Exact Plant Counts
If you want a layout you can copy without modification, this is the one I recommend to first-timers in sunny zones 5 through 7 in the eastern US. Total plant count is thirty-two. Soil prep is bare ground (sheet mulch or sod removal completed). Sun is at least six hours direct. If you are not sure which zone you are in or which natives are county-appropriate, the species list in our foolproof native plant garden recipe by USDA zone gives you regional swaps for this same template.
The thirty-two plants:
- 5 Echinacea purpurea (purple coneflower). Mid-height anchor, blooms June through August, primary nectar source
- 5 Monarda fistulosa (wild bergamot). Vertical structure, fills the back third, hummingbird and bumblebee draw
- 7 Schizachyrium scoparium (little bluestem). Grass matrix, turns copper-orange in fall, holds the bed together visually
- 5 Rudbeckia hirta (black-eyed Susan). Short-lived perennial that fills holes in year one while slower species establish
- 3 Asclepias tuberosa (butterfly milkweed). Front edge, low-growing, monarch host
- 3 Pycnanthemum tenuifolium (slender mountain mint). Pollinator magnet, mid-height, deer-resistant
- 2 Symphyotrichum novae-angliae (New England aster). Single specimens at the back corners, late season bloom
- 2 Solidago speciosa (showy goldenrod). Single specimens balancing the asters, late season bloom
Layout from the front of the bed to the back:
Front edge (low-growing, 0 to 12 inches tall at maturity): The three butterfly milkweed plugs across the middle front. The five black-eyed Susan plugs scattered along the front in a loose drift, none touching another. This gives you bloom from June through October on the lowest tier.
Middle (knee-height, 18 to 30 inches): The five purple coneflower plugs in two clusters. Three on the left side, two on the right. Between them, the three slender mountain mint plugs in a tight triangle. Mountain mint will eventually spread to a small patch, so cluster them where you want that patch to live.
Back third (waist-height and above, 36 to 60 inches): The five wild bergamot plugs in a single arc across the back. The seven little bluestem grasses interplanted between and behind the bergamot, with two single bluestem specimens pulled forward into the middle band so the grass is not only at the back. The two New England asters and two showy goldenrods anchor the back corners as singletons.
Spacing within the bed averages eight to ten inches between plants in clusters and twelve to fourteen inches between cluster edges. Total bed coverage by the end of year two is typically eighty to ninety percent. By year three, you have continuous canopy and most weed pressure drops to maintenance levels.
The Drift, Not the Grid: How Real Restorationists Lay Out a Patch
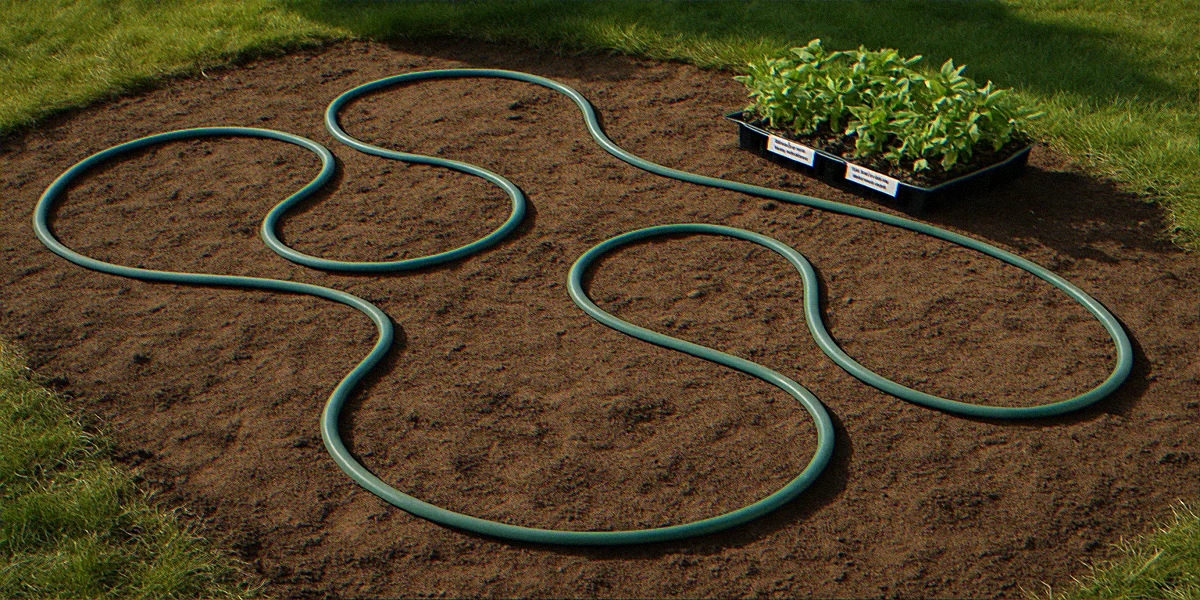
Here is the move that ends design paralysis in twenty minutes. Forget the graph paper. Forget the spacing-on-center calculator. Use a hose.
Lay your garden hose on the prepared bed in a soft, wavy line. The hose draws the boundary of your first cluster. Place all five plugs of one species inside the hose loop, eight to twelve inches apart, with the plug positions slightly irregular. Pick up the hose. Lay it down again in a different position, slightly overlapping the previous cluster. Place the next species inside. Repeat until every cluster has a hose-drawn outline.
This method matters because the human eye reads natural patches differently from grids. A grid screams maintained landscape, which is the look that triggers HOA letters. A drift reads as intentional naturalism, which is the look that produces a National Wildlife Federation certified habitat sign rather than a violation notice. The Xerces Society’s pollinator habitat guidance specifically recommends drift planting over grid planting for both wildlife support and visual acceptability in suburban neighborhoods. Read their full pollinator habitat installation guide for the long version.
The hose method also handles slope. A perfectly grid-planted bed on even a gentle slope reads as a parking-lot landscape. A drift-planted bed on the same slope reads as native. Same plants, same density, completely different perception.
When the Bed Looks Sparse for Two Months, Don’t Touch It
This is the hardest part of getting spacing right, and it is the reason so many gardeners undo their own plan halfway through summer.
A correctly spaced plug-planted native bed, photographed in late May right after planting, looks underwhelming. The plugs are two to four inches tall. The bed is mostly mulch. Visitors will not see what you saw on the design plan. Some plants will sulk for the first three weeks while their roots reach into the new soil. A few may go partly dormant if planted in heat.
Do not move anything. Do not add anything. Do not buy more plants to “fill in.” This is the most common spacing mistake after tag-distance: panic-buying replacements in July, jamming them between existing plugs, and creating a year-two thicket where nothing can stretch. The other thing not to do during the bare months is start ripping out anything that pops up between your plugs. Half of what looks like a weed in May is your own plug leafing in. Our guide to telling native plant seedlings apart from weeds before you pull is the field reference to keep in your back pocket through June.
The sleep-creep-leap timeline applies to almost every native species in a first-year bed. Year one is roots only. Year two is modest visible growth. Year three is the bloom and biomass you imagined when you started. If you want a deeper look at the timeline by species, our piece on the sleep, creep, leap pattern in native plants walks through what to expect each year.
If the bed honestly looks too sparse to your eye, fill the gaps with one of two things: a tight layer of shredded leaf mulch (free from your fall pile) or a temporary cool-season cover such as crimson clover seed sown lightly. Both shade out weed seedlings and give the bed visual coverage without committing to a permanent plant in the wrong spot. The clover dies out the following spring as your plugs leaf in.
What to Tell Neighbors Who Say It Looks Empty
A bare-looking native bed in May is a social problem before it is a horticultural one. A reader emailed last month to ask exactly this: the neighbor across the cul-de-sac had loudly described her new pollinator bed as “looking like nothing back there yet, did the squirrels dig everything up?”
The defense is a combination of signage, a maintained edge, and a sentence you can say out loud without sounding defensive.
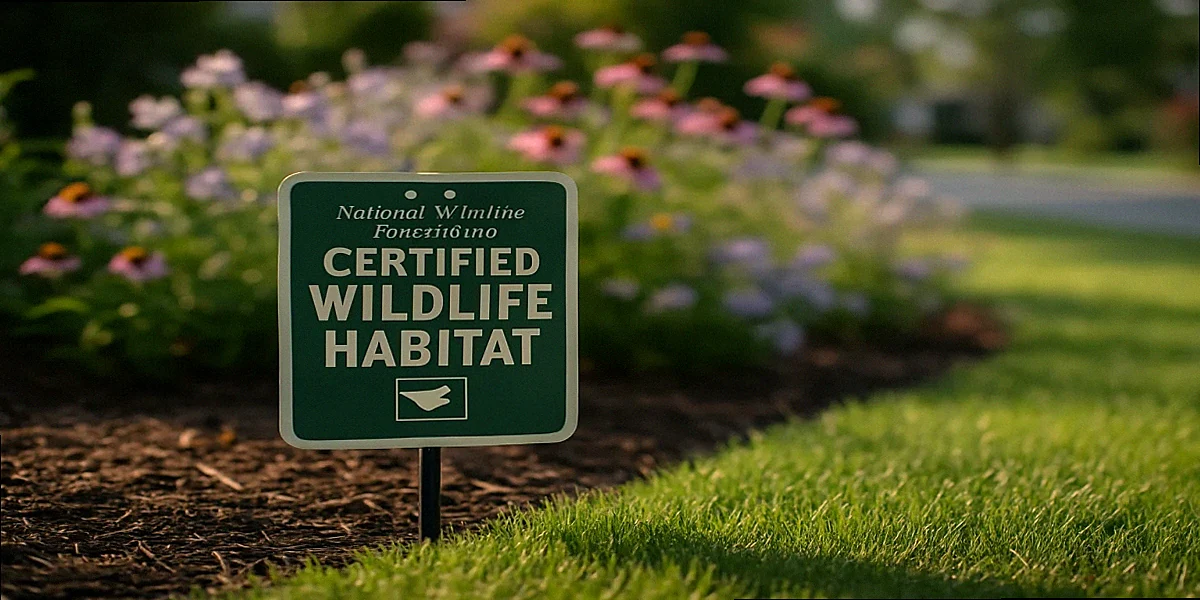
Signage. A small certified-habitat sign at the front edge of the bed does more work than any explanation. The most recognized signs come from the National Wildlife Federation Backyard Habitat program and the Pollinator Pathway network. Both run thirty to forty dollars and ship in a week.
Maintained edge. A clean, hard edge between the native bed and the surrounding lawn. Even just a four-inch trench refreshed every six weeks. Signals intent. The Penn State Extension term for this is a cue of care, and research has consistently found that the same exact bed reads as either a meadow or a weed patch depending on whether it has a defined boundary. A two-foot mowed buffer of lawn between bed and sidewalk works just as well.
The sentence. When a neighbor asks, the answer is some version of: It is a pollinator planting, so most of the action happens in year two and three. The roots are growing now, the flowers come next year. No apology, no horticultural lecture. Most neighbors who ask are not hostile, just curious. The ones who are hostile rarely engage with a factual reply.
For the harder case. The HOA letter that arrives in week six citing “neglected appearance”. We have a separate playbook in our piece on what to do when the HOA sends a letter about a native plant garden.
What Year Three Looks Like If You Spaced It Right
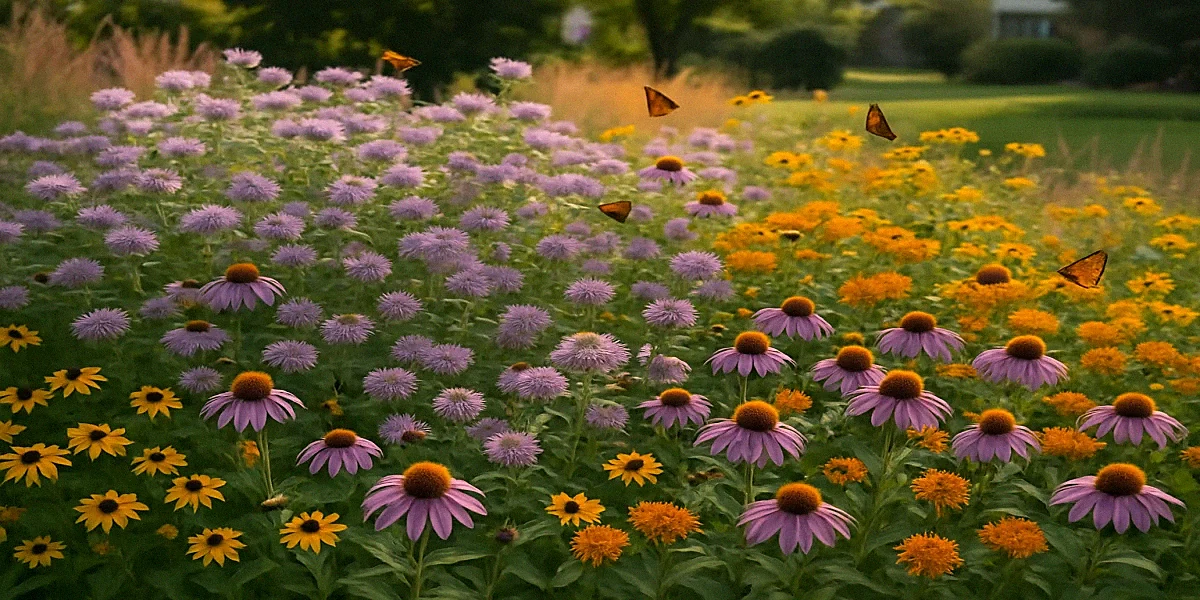
By the end of the third growing season, a correctly spaced 4×8 bed planted with the thirty-two-plant list above contains approximately the following: a continuous canopy with no exposed soil between June and October, sixty to ninety pollinator species recorded by any gardener who keeps a casual list, and visible bird use for both nectar and the seed heads left standing through winter.
Specifically, what you see in year three with the recommended layout: the wild bergamot reaches four to five feet and produces a lavender top layer that hummingbirds use heavily in July. The purple coneflower clusters bloom heavily from late June through early September, with goldfinches stripping the seed heads through fall. The little bluestem shifts from blue-green in summer to copper-orange by mid-October and holds that color through January. The asters and goldenrods turn the back corners into a magnet for late-season migrating monarchs and queen bumblebees.
The bed is also functionally self-mulching by year three. Native foliage drops, decomposes in place, and creates the kind of soil layer that suppresses most annual weeds without intervention. The Mt. Cuba Center’s long-running native plant trials have documented this transition repeatedly in their research plantings, and you can read their published trial reports through their research and trial garden archive if you want species-specific data.
One thing year three will not do: produce a perfectly tidy specimen-garden look. The plants will lean, weave into each other, and seed slightly outside the bed boundary. That is the appearance you signed up for when you chose natives over a foundation planting of hostas. If you want a sharper aesthetic with most of the wildlife value, the article on HOA-friendly curb appeal designs for native gardens shows the framing techniques that keep the look intentional.
The harder reward of correct spacing is the one nobody warns you about: by year three, you will stop tinkering. The bed reaches the carrying capacity of the soil. Whatever wants to be there is already there. You become a visitor to it more than a manager of it, and that is the moment most native gardeners describe as the actual point of the project.
Frequently Asked Questions
Can I just buy bigger pots instead of plugs to skip the bare-bed phase?
You can, but the math punishes you fast. A quart-sized purple coneflower runs eight to twelve dollars from a local native nursery, versus two to three dollars per plug. A 4×8 bed in quart pots costs roughly two hundred and fifty dollars in plants alone. The same bed in plugs is sixty to ninety dollars. The plugs also tend to establish better long-term because they grow into the local soil rather than starting in a different potting medium. The bare-bed phase is a feature of plug planting, not a bug. If your only nearby option is a big-box store, our piece on how to buy real native plants at Lowe’s and Home Depot walks through which labels actually mean local-native and which are filler. For ways to keep total cost down further, our piece on a native plant garden on a budget covers the bare-root and propagation routes.
What if I am working in shade, not sun?
The same density rule applies. Roughly one plug per square foot. But the species list changes. For shade beds in zones 5 through 7, swap the sun-prairie species for woodland natives: wild geranium, wood aster, golden Alexander, Christmas fern, sedges such as Carex pensylvanica, and white wood aster. Density and cluster sizes stay the same. Establishment spacing is generally tighter for woodland species because the shaded soil dries more slowly and supports closer planting without root competition stress.
How long until the bed needs no weeding?
If you mulched the bare soil at planting and applied establishment spacing, expect to spend forty-five minutes weeding per month from May through August in year one. Year two drops to fifteen to twenty minutes a month. Year three is typically five minutes a month, mostly removing wind-borne tree seedlings. The weed pressure curve falls sharply once canopy closes, which is the entire reason to space tightly rather than to tag-distance.
Should I add any nursery soil or amendments at planting?
Almost never. Native plants evolved on the soil that exists in your yard, and amending creates a soft pocket where roots stay rather than spreading out. The exception is a heavy clay or fully compacted soil, where loosening with a digging fork to a foot deep at planting helps roots get started. Compost is unnecessary and can actually push your bed toward weedier opportunistic species. Skip the soil bags and put that thirty dollars toward more plugs.
Can I add plants in fall instead of spring to skip the bare-bed visual problem?
Fall planting works for most native species in zones 5 through 7, and the bed will look less bare visually in the first weeks because surrounding plants are senescing. The trade-off is that fall plugs go into the soil shorter, root in for six to eight weeks before frost, and then sit dormant through winter. Survival is generally good if you mulch lightly and water during dry fall stretches. Spring planting still wins for sun-prairie species in heavy-clay yards, where waterlogged winter conditions can rot fall plugs.
The Short Version If You Are Reading This Standing in the Bed Right Now
One plug per square foot. Plant in clusters of three to seven of the same species. Use establishment spacing. Roughly half what the tag says. Not mature-spread spacing. Lay out the clusters with a garden hose rather than a grid. Mulch the bare ground between clusters. Resist every urge to add plants in months two through twelve. Put a habitat sign on the front edge before the neighbors notice the bare patches. Stop tinkering by year three.
The hardest part is not the math. It is the patience. Native beds reward correct spacing on a timeline that doesn’t match the gardening industry’s selling cycle. If you can hold the design through one slightly embarrassing first summer, you get a bed that does the rest of the work itself for the next decade.
Want More Wildlife Garden Tips?
Join 5,000+ nature lovers getting our weekly tips on creating wildlife-friendly gardens.
No spam, unsubscribe anytime. Privacy Policy
Emma Harrington
Emma Harrington is a wildlife habitat researcher and content editor with a passion for backyard conservation. She has spent over a decade translating ecological science into practical tips anyone can follow — from selecting native plants to building wildlife-friendly habitats. Her work focuses on helping homeowners transform ordinary yards into thriving ecosystems for bees, butterflies, hummingbirds, and other beneficial wildlife.