Building a wildlife pond in your backyard is one of the most rewarding things you can do for local nature, and honestly, it’s a lot simpler than most people think. You don’t need a massive garden, a construction crew, or a degree in landscape architecture. What you need is a patch of ground that gets decent sunlight, a weekend or two of honest digging, and the willingness to let the pond develop its own character over time.
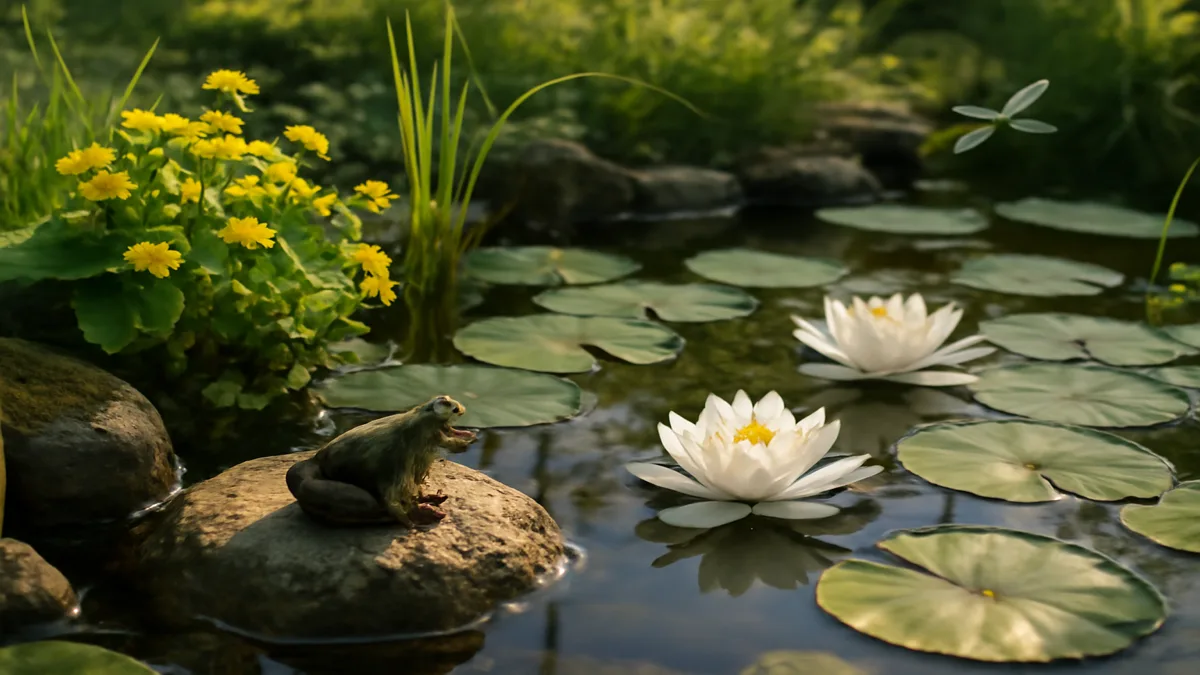
I’ve watched friends hesitate for years before finally committing to the project, and without exception, the first thing they say once it’s finished is, “I wish I’d done this ten years ago.” Within a month, you’ll have dragonflies hovering over the water. Within a season, frogs may show up seemingly out of nowhere. Within a year, your little pond becomes a hub of buzzing, chirping, splashing life that simply wasn’t there before.
This guide walks you through every step of the process, from choosing the right spot in your yard to selecting plants, filling the pond, and creating a safe, welcoming habitat for frogs, birds, hedgehogs, and pollinators. Whether you’re working with a suburban lawn or a larger rural plot, the principles remain the same. Grab a cup of coffee, settle in, and let’s plan your pond together.
FREE: Wildlife Garden Starter Guide
Get our 12-page PDF with the 25 best plants for pollinators, simple habitat tips, and a printable checklist — all 100% free.
No spam. Read our Privacy Policy.Why a Wildlife Pond Matters More Than You Think
Across North America and Europe, natural wetlands have been disappearing at an alarming rate. Ponds that once dotted farmland and meadows have been drained, filled, or paved over, and the amphibians, insects, and birds that depended on them are quietly vanishing. A single backyard pond won’t reverse that trend on its own, but multiply it by thousands of homeowners making the same choice, and suddenly you have a meaningful network of stepping-stone habitats stretching across entire regions.
Unlike an ornamental koi pond or a fountain feature, a wildlife pond is designed for the creatures that live there rather than for decoration. There are no pumps humming away, no filters to clean every weekend, no expensive fish to worry about. Nature handles the balancing act. Your job is simply to build the stage, plant the right vegetation, and then step back and watch the show.
If you already enjoy supporting wildlife through features like a pollinator garden, a pond is the perfect next step. Water attracts species that flowers alone cannot, and the combination of wet and dry habitats multiplies the biodiversity of your entire property.
Choosing the Right Location
Location is the single most important decision you’ll make, and it’s worth spending a few days observing your yard before you commit. Walk outside at different times. Mid-morning, noon, late afternoon. And pay attention to where the sun falls. A healthy wildlife pond needs roughly 5 to 6 hours of direct sunlight per day, with morning light being the ideal. Sunlight powers the aquatic plants, which in turn oxygenate the water and feed the food chain from the bottom up.
At the same time, you want partial afternoon shade. In July and August, a fully exposed pond can heat up to temperatures that stress amphibians and accelerate algae growth. A few hours of relief from the hottest part of the day keeps the water cooler, more stable, and far more hospitable.
One common mistake beginners make is placing the pond directly beneath a large deciduous tree. It sounds romantic. Dappled shade, autumn leaves drifting onto the water. But in practice, falling leaves sink to the bottom, decompose into black sludge, and release gases that kill overwintering wildlife. Worse, tree roots grow relentlessly and can eventually puncture the liner. If you have mature trees nearby, site your pond at least a few meters away, ideally on the sunny side rather than directly underneath.
“The best wildlife pond is one that looks like it has always been there. Choose a low-lying, naturally damp spot if possible, and let the landscape guide your design rather than forcing the landscape to accommodate your plan.”
Sizing and Designing the Depth Zones
Size matters, but probably not in the way you’d expect. You do not need a huge pond to support healthy wildlife. In fact, small ponds often outperform large ones because they warm up faster in spring and kick off the breeding season sooner. The minimum recommended size is roughly 2 meters by 2 meters, or about 4 square meters of surface area. Anything smaller risks drying out in summer heat or freezing solid in winter.
What truly matters is the internal structure. A wildlife pond should have three distinct depth zones, each serving a specific ecological purpose. The shallow beach area provides safe access for creatures that fall in or come to drink. The planting shelves host the marginal plants that define a healthy pond edge. The deep central well acts as a thermal refuge, staying cool in summer and preventing a complete freeze in winter.
Here’s a quick reference for designing your zones and the plants that belong in each:
| Zone | Depth | Purpose | Recommended Plants |
|---|---|---|---|
| Beach | 0 to 10 cm (4 to 8 inches) | Safe entry and exit for frogs, hedgehogs, and birds. Use a 3:1 gradual slope with pebbles, sand, and mud. | Creeping Jenny, Water Mint at the waterline |
| Planting Shelves | 20 to 30 cm (8 to 12 inches) | Horizontal ledges for emergent plants that provide cover and egg-laying surfaces. | Marsh Marigold, Yellow Flag Iris, Water Forget-me-not |
| Deep Refuge | 60 to 100 cm (24 to 40 inches) | Central thermal buffer and winter refuge for amphibians and invertebrates. | Native Water Lilies, Hornwort, Spiked Water-milfoil |
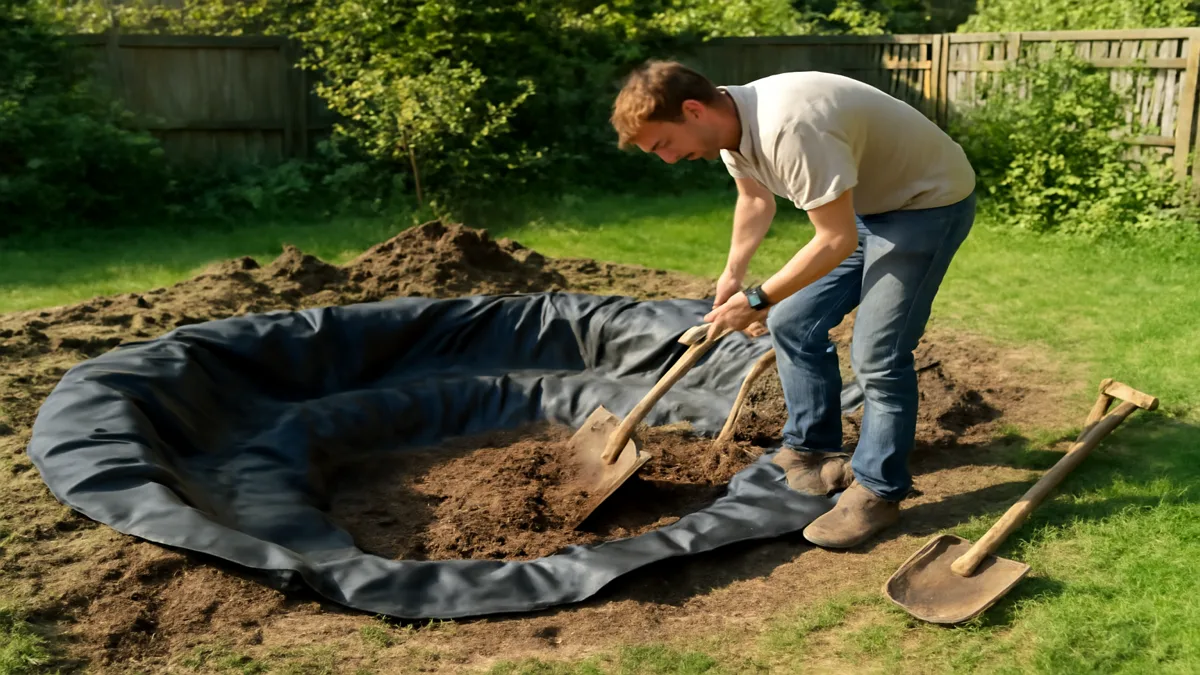
Excavation: Digging Your Pond the Right Way
Once you’ve marked out your pond with a garden hose or a line of sand on the ground, the real work begins. Digging a pond is genuinely hard physical labor, so pace yourself, stay hydrated, and recruit a friend if you can. Work in stages rather than trying to finish in a single afternoon.
Here’s the step-by-step process I recommend for most DIY builds:
- Outline the shape. Use a flexible garden hose to draft an organic, curving outline. Avoid perfect circles and rectangles. Irregular shapes look natural and create more micro-habitats.
- Excavate the beach zone first. Dig the shallowest area to a depth of 10 centimeters, maintaining that gentle 3:1 slope that allows wildlife to walk in and out safely.
- Carve out the planting shelves. Step down to 20 to 30 centimeters and create flat ledges around most of the perimeter. These shelves will support baskets of marginal plants.
- Dig the deep refuge. Excavate the central zone to at least 60 centimeters, ideally 80 to 100 centimeters if your climate has hard winters.
- Check the level constantly. Lay a long plank across the pond rim with a spirit level on top. If one side is higher, water will spill over before the pond fully fills.
- Remove sharp objects. Clear every stone, root, and piece of glass from the excavated area. Run your hand over the surface. If it catches, the liner will catch too.
- Add an underlayment layer. Spread sand, old carpet, or a 200 to 400 gsm geotextile fabric across the entire excavation to protect the liner from below.
Choosing and Installing the Liner
The liner is the heart of your pond, and cutting corners here is a decision you’ll regret within a few years. Skip the cheap PVC options you’ll see advertised in big-box stores. PVC contains plasticizers that leach out over time, it becomes brittle under UV exposure, and it tends to crack at folds. For a pond that will last decades, you want EPDM rubber liner at 45 mil thickness.
EPDM is remarkable stuff. It can stretch up to 300% of its original size without tearing, it shrugs off ultraviolet radiation, it contains no toxins that threaten aquatic life, and properly installed it will last 40 to 50 years. Yes, it costs more upfront. Expect to pay around $100 for a small pond. But amortized over the lifespan, it’s one of the best values in the entire project.
To install, drape the liner loosely across the excavation with at least 30 centimeters of overlap all the way around. Don’t try to stretch or tighten it. Let it settle into the contours as the water does the work. Place a few rocks around the edges to hold it in position while you start filling.
Filling, Planting, and Letting Nature Move In
How you fill the pond is almost as important as how you built it. Tap water seems convenient, but it’s loaded with chlorine and nitrates that can trigger a massive algae bloom within days. Whenever possible, fill your pond with harvested rainwater from a rain barrel or water butt. Rainwater is soft, nutrient-poor, and exactly what aquatic plants and amphibians have evolved to thrive in.
If you must use tap water, either add a commercial dechlorinator or simply let the filled pond stand for about a week before introducing plants. This allows chlorine to dissipate naturally. Never add fish or animals. They’ll show up on their own, and you don’t want them there anyway, which I’ll explain shortly.
Once filled, it’s planting time. Aim to cover 50 to 70 percent of the water surface with vegetation within the first year. That coverage shades the water, suppresses algae, and provides cover for wildlife. Here’s what belongs in a healthy native planting scheme:
- Submerged oxygenators: Hornwort (Ceratophyllum demersum) and Spiked Water-milfoil keep the water clear and oxygenated from below.
- Floating plants: Native Water Lilies (Nymphaea alba) and Frogbit shade the surface and provide resting spots for insects.
- Marginal emergents: Marsh Marigold (Caltha palustris), Yellow Flag Iris (Iris pseudacorus), and Water Forget-me-not bloom around the edges and support pollinators.
- Aquatic baskets: Use perforated aquatic baskets filled with low-nutrient aquatic compost rather than garden soil, which would leach excess nutrients.
Resist the temptation to add fish. Goldfish and koi devour tadpoles, newt eggs, and aquatic insects, and they completely undermine the wildlife food web you’re trying to build. A fish-free pond will host ten times the biodiversity of one stocked with ornamental species. For more guidance on supporting the broader food chain, the Wildlife Trusts offer excellent free resources. See The Wildlife Trusts and the National Wildlife Federation.
What to Expect: Wildlife Timeline and Ongoing Care
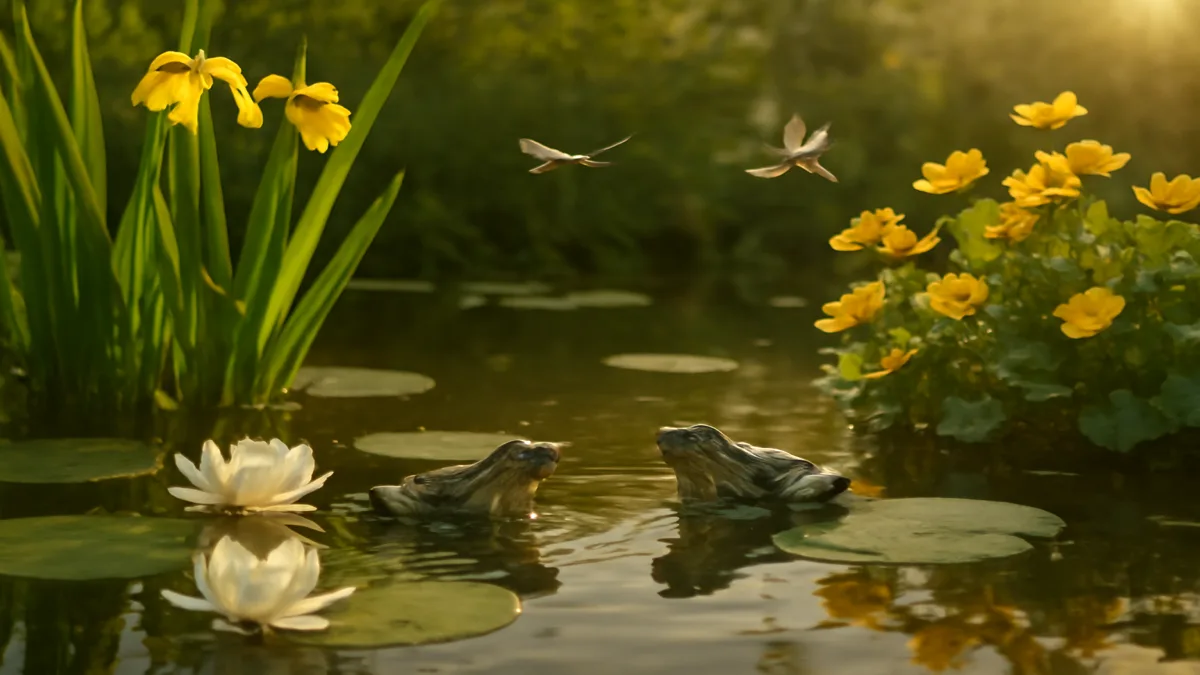
The first visitors usually arrive faster than you’d believe. Within a week or two, you’ll start seeing dragonflies patrolling the water. Birds begin using the beach zone for drinking and bathing almost immediately. Water beetles and pond skaters seem to materialize from thin air within a month.
Frogs and newts take a bit longer. If there’s an established source pond within a kilometer or so, amphibians will often find your pond within 2 to 3 months, hopping overland in damp weather. Breeding usually begins the following spring, and watching the first tadpole clouds form is one of the genuine joys of owning a wildlife pond.
To complete your backyard habitat, consider pairing the pond with other features like a bat house nearby. Bats drink on the wing by skimming the water surface at dusk, and they’ll hunt mosquitoes and midges attracted to the pond. Surrounding the pond with native pollinator plants extends the habitat even further, creating continuous forage for bees, butterflies, and hoverflies.
Ongoing maintenance is refreshingly light. Skim fallen leaves off the surface in autumn before they sink. Thin out oxygenating plants if they start to dominate. Trim back marginal plants once a year in late summer. That’s essentially it. Avoid the temptation to “clean” the pond. The sludge at the bottom is alive with invertebrates that form the base of the food web.
Budgeting Your Build
A wildlife pond is one of the most affordable habitat projects you can tackle. For a small pond of roughly 2 by 2 meters, expect to spend around $300 to $500 total: about $100 for the EPDM liner, $40 for geotextile underlayment, $80 for a solid selection of native plants, and $30 for aquatic baskets. The rest covers pebbles, rocks, and minor supplies.
Stepping up to a medium pond of 3 by 4 meters runs roughly $600 to $1,000, primarily driven by the larger liner. Skip the pumps and filters. They waste money and electricity, and a properly planted wildlife pond self-regulates through biological filtration. Every dollar you’d spend on equipment is better invested in more plants and better rocks.
Conclusion: Your Pond Becomes a Living Legacy
A wildlife pond is not a project you finish. It’s a habitat you start. The day you fill it with water is just the beginning of a living, evolving corner of your yard that will change with every season and reward you for decades. You’ll learn the rhythms of amphibian breeding, recognize individual dragonfly species, and find yourself lingering by the water’s edge longer than you ever expected.
If this guide helped you take the leap, please share it with a friend or neighbor who’s been talking about building their own pond. Every new wildlife pond strengthens the network of habitats our native species depend on, and word-of-mouth is how these ideas spread. Pass it along, and then get digging. Your future frogs are waiting.
Frequently Asked Questions
How deep does a wildlife pond need to be?
A wildlife pond should have a deep zone of at least 60 centimeters (24 inches), ideally 80 to 100 centimeters if you live in a region with hard freezes. This depth creates a thermal refuge that stays cool in summer and prevents complete freezing in winter, giving amphibians and invertebrates a safe place to overwinter at the bottom.
Should I add fish to my wildlife pond?
No. Adding fish is the single biggest mistake beginners make. Goldfish, koi, and other ornamental fish aggressively eat tadpoles, newt eggs, and aquatic insects, collapsing the food web you want to build. A fish-free pond supports far greater biodiversity and attracts more frogs, dragonflies, and birds.
How long until frogs show up on their own?
If there’s an established source pond within about a kilometer, frogs typically find a new pond within 2 to 3 months, usually migrating overland during damp or rainy weather. Breeding often begins the following spring. Never transfer frogs or spawn from another pond, as this can spread diseases like chytrid fungus.
Can I use tap water to fill my wildlife pond?
Rainwater is strongly preferred because tap water contains chlorine and nitrates that can trigger algae blooms and stress aquatic life. If you must use tap water, either treat it with a commercial dechlorinator or let the filled pond stand untouched for at least a week before adding plants, which allows chlorine to dissipate.
Do I need a pump or filter for a wildlife pond?
No. And adding one actually works against you. Wildlife ponds rely on biological balance from submerged oxygenating plants, marginal vegetation, and naturally colonizing invertebrates. Pumps and filters disturb this balance, waste electricity, and can injure small creatures. Let nature do the filtering through proper planting.
Want More Wildlife Garden Tips?
Join 5,000+ nature lovers getting our weekly tips on creating wildlife-friendly gardens.
No spam, unsubscribe anytime. Privacy Policy
Emma Harrington
Emma Harrington is a wildlife habitat researcher and content editor with a passion for backyard conservation. She has spent over a decade translating ecological science into practical tips anyone can follow — from selecting native plants to building wildlife-friendly habitats. Her work focuses on helping homeowners transform ordinary yards into thriving ecosystems for bees, butterflies, hummingbirds, and other beneficial wildlife.